
By Janet Groene, F47166
August 2019
No matter how you make it, this staple satisfies.
Bread, milk, and eggs are the triumvirate of RV camping provisions. Bread leads the list. It’s best when fresh, which can pose a challenge if you’re boondocking or if you have a smaller RV without an oven.
Here’s how you can have your daily bread when it’s too hot to start the RV oven or you have no oven at all.
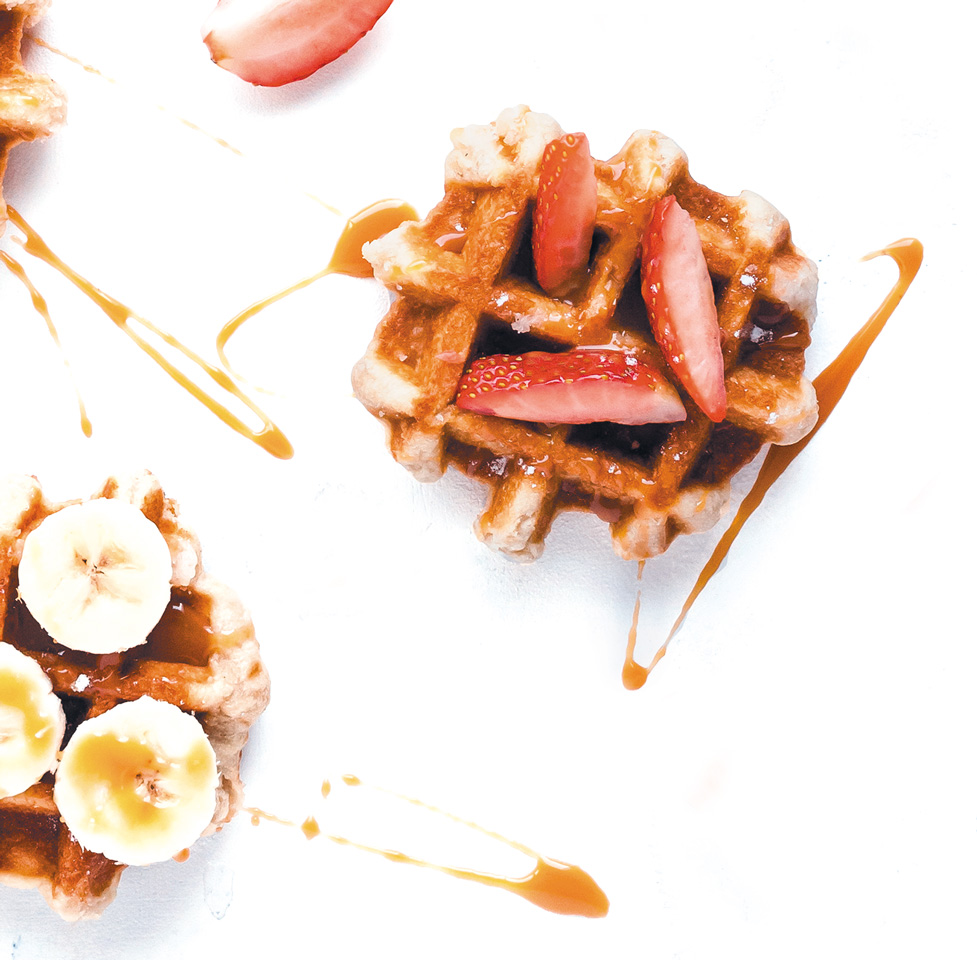
Overnight Whole Wheat Waffles
Coleman and Nordic Ware sell cast-aluminum waffle makers that can be used over a gas or electric stove, campfire, or camp stove. They are lightweight, easy to clean, and nonstick. Old-fashioned cast-iron waffle makers are heavy, but they can be used on all heat sources, including induction. Electric waffle makers come in various sizes and shapes.
Waffles can be served in a dozen variations, from sweet to savory, breakfast to dessert.
1 3/4 cups water
2/3 cup nonfat dry milk
1 packet active dry yeast
1/2 cup warm water
1 teaspoon sugar
1 teaspoon salt
1 stick butter, melted
3 cups flour (half whole wheat, half white)
1/2 cup liquid eggs such as Egg Beaters
1/2 teaspoon baking soda
Mix the 1 3/4 cups of water with the dry milk and set aside. In a small container, stir the dry yeast into the 1/2 cup warm water. Set aside. In a large bowl (mixture will swell in size), mix the milk, sugar, salt, and melted butter. Stir in the yeast mixture and the flour. Cover loosely and let stand overnight. In the morning, stir in the eggs and baking soda. Cook according to the instructions that came with your waffle iron. Makes six servings.
Bread ’N’ Breakfast Fun-Do
1 loaf homemade beer bread OR 1 loaf batter bread (see recipes page 64)
1 pound lean bulk sausage
1 packet sausage gravy mix
2 cups milk or water
Fry out the sausage, breaking it up. When it’s done, spoon off the excess fat. Prepare the gravy mix according to the package directions and add it to the skillet with the sausage. Cook until it thickens.
Cut or tear the bread into chunks. Gather around the table; give everyone a fondue fork, chopsticks, or long skewers to spear the bread and dip into the pot. Makes four to six servings.
Skillet Cinnamon Roll Ring
When I’m camping without an oven, my 12-inch Club Aluminum skillet serves as a stovetop oven. To make it a tube pan, place a small, open, clean can, such as a tuna can, in the middle; grease the outside of the can for easy removal later. To keep it in place, weigh it down with clean nuts and bolts. (Don’t use rocks. Some explode; some produce noxious smells when heated.)
2 tubes crescent rolls
1/2 cup sugar
1 teaspoon cinnamon
1 cup almond meal or pecan meal (or finely chopped nuts of choice)
Optional glaze:
1 teaspoon water
1/2 teaspoon vanilla, almond, or lemon extract
1/2 cup powdered sugar
Prepare a tube pan center (as explained above) and place it in a well-greased skillet or Dutch oven. Lay out the crescent dough on a towel or piece of waxed paper. Press the seams together to make one long sheet. Mix the sugar, cinnamon, and nuts, and spread evenly over the dough. Roll up the dough from the wide end. Cut into 12 spirals. Arrange in the prepared pan around the tube center, overlapping as necessary.
Cover tightly and bake over low-medium heat until the rolls are firm and browned on the bottom and sides. Carefully remove the tuna can. In a bowl, stir the water and the extract into the powdered sugar to make a glaze; drizzle it over the rolls. Makes six servings.
Substitute: Instead of making glaze, mix 1/3 cup sugar and 1/4 teaspoon cinnamon, and sprinkle it on the warm rolls.
Skillet Irish Soda Bread
Although you can make sour milk by splashing a little vinegar into sweet milk, there’s really no substitute for buttermilk in bread and biscuits.
2 cups flour (up to 1/2 cup whole wheat)
2 teaspoons baking powder
1 teaspoon salt
1/4 teaspoon baking soda
Buttermilk
Optional: 1 teaspoon caraway seeds
Combine the dry ingredients in a bowl. Stir in enough buttermilk to make a very thick dough. The dough should be evenly moistened throughout, but do not overbeat. Grease a 10-inch, nonstick skillet and add the dough. Cover tightly and cook over medium heat until it’s bubbly on top and lightly browned on the bottom and sides.
Working carefully with gloved hands, flip the half-baked bread onto a plate and put it back in the pan, white side down. Cover and bake until it’s golden on both sides. Turn it out, cut it into wedges while hot, and enjoy it with plenty of butter. Makes four servings.
Skillet Flatbread
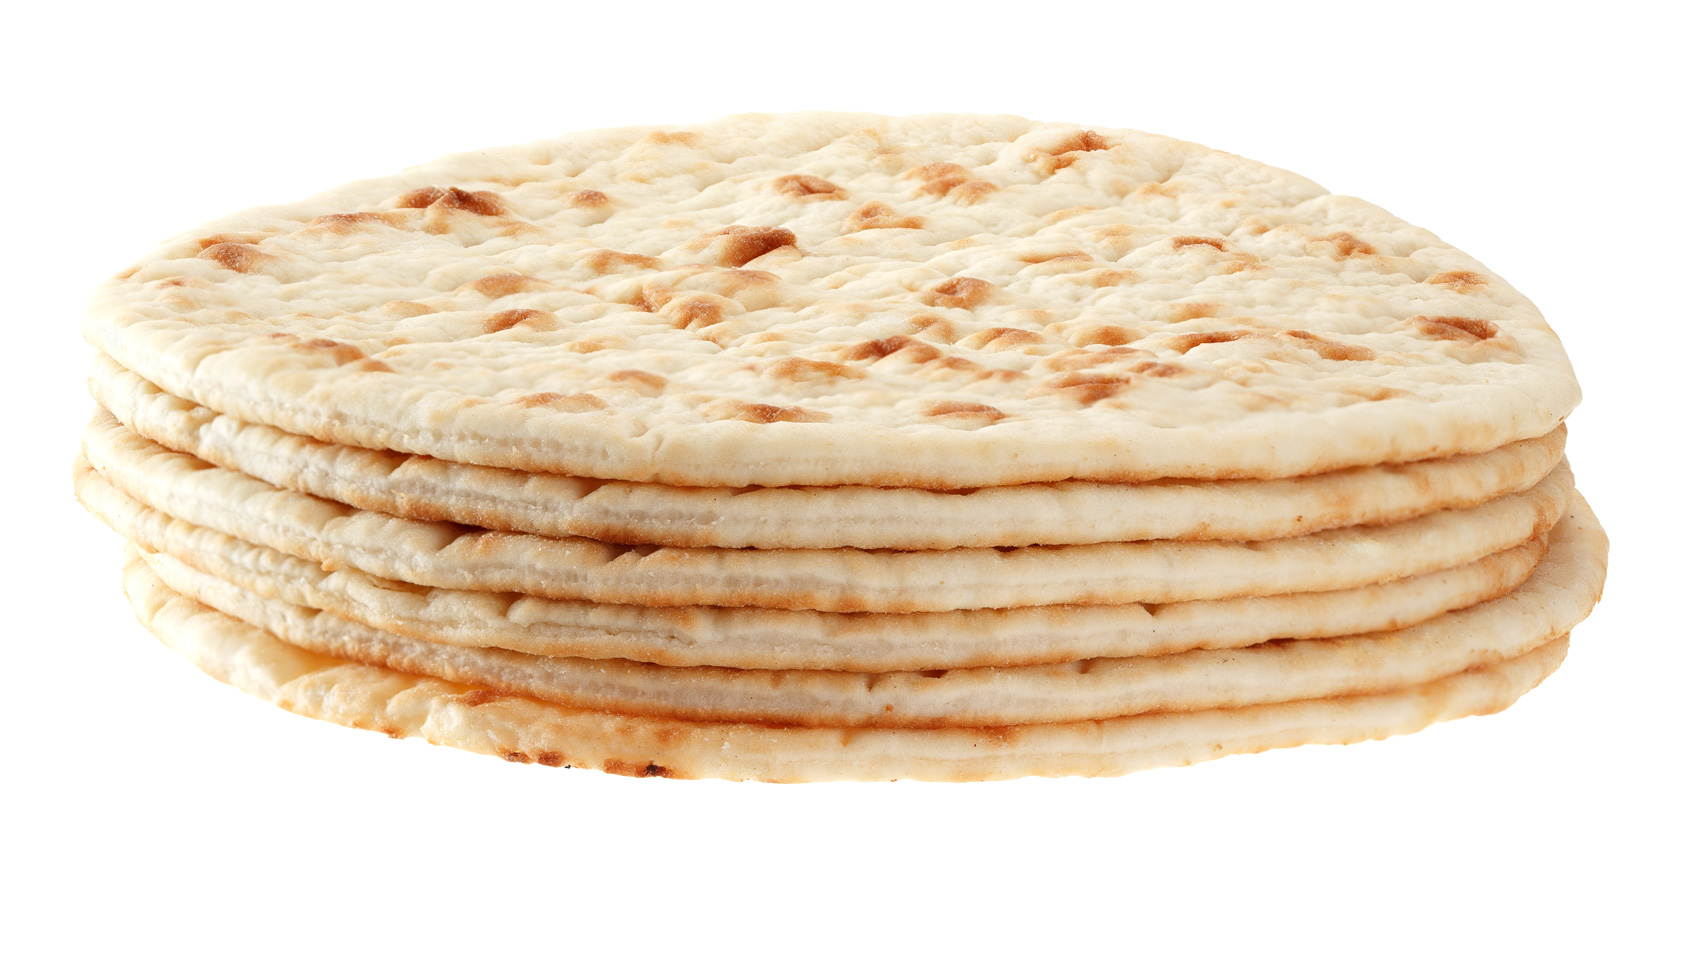 Many versions of simple, no-oven breads exist around the world. Some are as simple as Australian damper, which is little more than flour, baking powder, and water, baked right on the coals of a campfire. It’s tidier to use a skillet. The secret is to take your time, allowing the flour to rehydrate before baking. Don’t rush the baking, or the bread will be scorched on the outside and doughy in the middle.
About 3 cups flour
1 tablespoon baking powder
2 teaspoons salt
1/4 cup vegetable oil
1 cup cold water
More vegetable oil for frying
Combine the dry ingredients in a bowl and then stir in the oil and water. If the dough is too sticky, add more flour. If it’s too dry, add more water. Cover the bowl and let the dough rest for 10 to 15 minutes. Scoop out 12 pieces about the size of golf balls, dip them in flour, and flatten each between your hands. Working in batches and adding more oil if needed, fry the pieces in hot oil until they are toasty on both sides.
Pasta Flour Griddle Bread
This chewy bread takes a little more time, but it’s a nice change from other breads. Serve it with plenty of butter and a hearty soup or stew.
2 cups pasta flour (such as “00” flour or semolina flour)
1 cup cornmeal or coarse semolina
1/4 cup sugar
1 teaspoon salt
1 1/4 sticks butter, melted
Water
Mix the dry ingredients and stir in the melted butter. The mixture will be mealy. Add 1/2 cup water. Let it rest 15 minutes. Add another 1/2 cup water or enough to make a soft dough. Turn out the dough on a clean surface, such as a sheet of waxed paper, and knead it with buttered hands until it’s smooth. Cover the dough and let it rest 15 minutes.
Divide the dough into 12 pieces. Pat into 5-inch rounds with your hands, and then cook them on a lightly greased, very hot griddle or grate, turning over until the bread is mottled light and dark brown on both sides. Serve at once.
No-Oven Beer Bread
This beer bread recipe has been around for years, but it takes practice to get the hang of baking with no oven. Everything depends on the heat source and your baking pan. During my years of full-time RVing, I spent many months in remote areas, baking all breads in a cast-aluminum pressure cooker (rubber removed) over a Primus stove. Heat must be spread evenly and slowly so the bread browns evenly on the bottom and sides. Here’s a start.
Butter or shortening
About 2 tablespoons cornmeal
1 tablespoon sugar (optional)
1 (12-ounce) can or bottle of beer
3 cups self-rising flour
Generously grease a heavy pan or skillet for which you have a tight lid. Add the cornmeal, cover the pan, and shake to coat the pan’s interior. Dump out the excess cornmeal. In a bowl, stir sugar, beer, and self-rising flour together. Put the dough in the pan, cover tightly, and cook for about 45 minutes over low-medium heat. Try not to peek often. The goal is to keep an even envelope of heat around the dough. With practice, you can tell by the smell if it’s browning too fast on the bottom. If your stove can’t be regulated, use a flame spreader.
Baked this way, the loaf will not brown on top but will be firm and springy to the touch. Some cooks turn the loaf to brown the bottom, but I just turn it on a cutting board, white side down.
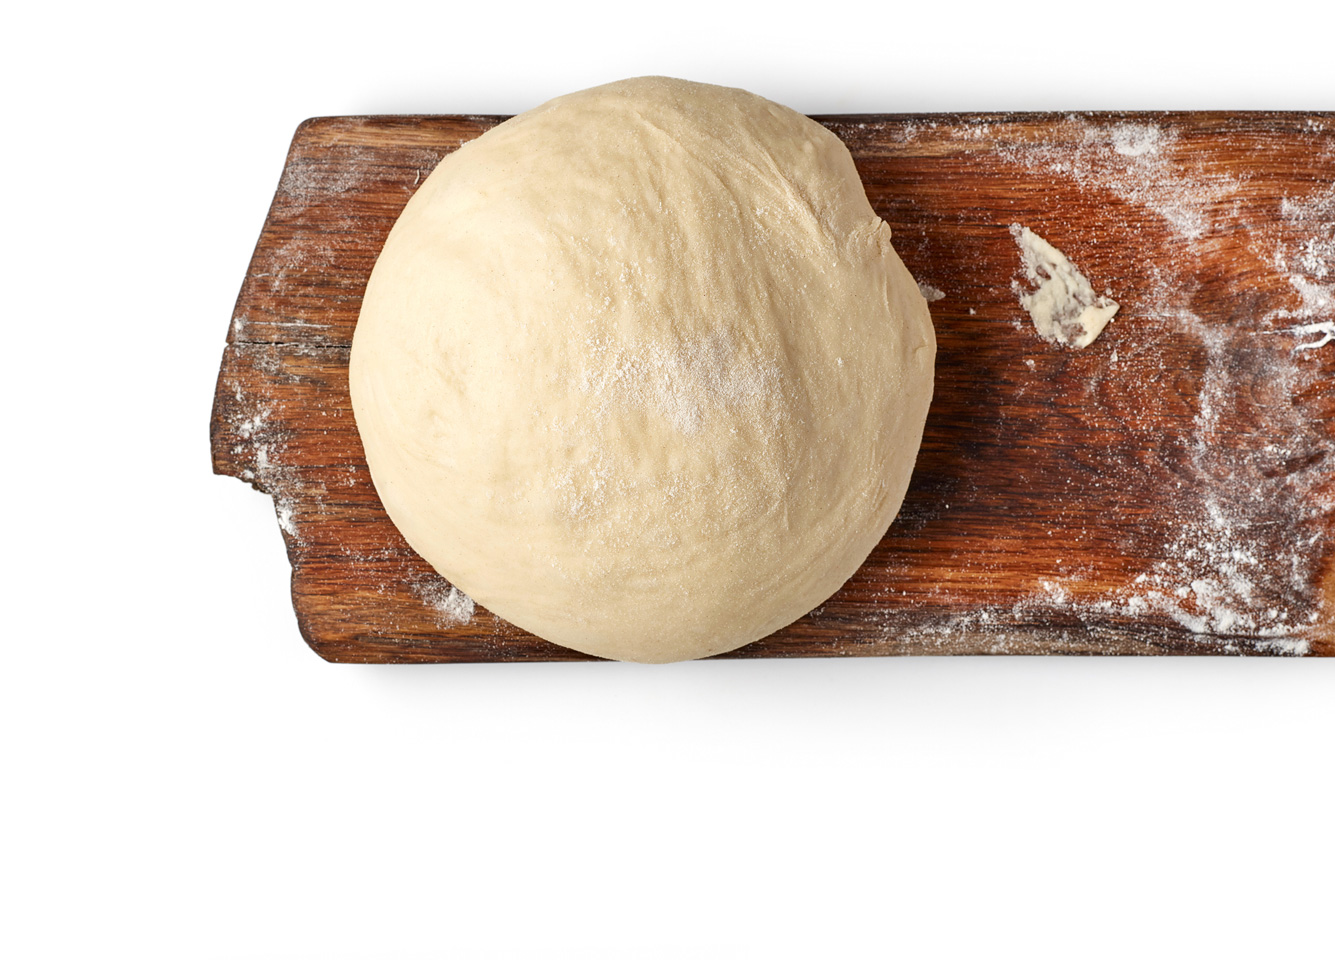
No-Knead Batter Bread
You can get all the rich yeastiness of homemade bread without the tiresome kneading. If you have room to make two loaves of this bread, double this recipe but use only the one packet of yeast.
1 pat butter (1 tablespoon)
1 1/2 cups warm water
About 3 1/2 cups flour (may be part whole wheat)
1 packet active dry yeast
1 teaspoon salt
1 tablespoon sugar
Put the butter in the water to soften it. Mix the dry ingredients in a bag. Dump about half the dry ingredients into a large bowl (dough will double in size later). Stir in the water and butter. Using a mixer or elbow grease, keep stirring and add the remaining flour mixture to make a thick, smooth batter. Cover the bowl and let the dough rise in a wind-free place for 30 minutes.
Stir down the batter with a spatula and scrape it into a well-greased loaf pan or the pan you use for stovetop baking. Let it rise again until it’s double, and then bake at 375 degrees until toasty brown. No oven? Put the bread in a tightly lidded pan over low-medium heat until it’s firm to the touch and browned on the bottom and sides.
Variation: To make dilly bread, add a teaspoon of dried dill weed to the batter.
Food For Thought
 *Use the right yeast. Some recipes call for instant yeast, others for active dry yeast. There’s a difference.
*Gluten-free flours are best for nonyeast quick breads and for recipes developed for these blends.
*Fresh milk should be scalded and cooled before being used in a yeast recipe. Reconstituted dry milk does not have to be scalded.
*Make or buy yeast dough and cut it into golf-ball-size pieces. Flatten the pieces, let them rise, and fry them in deep vegetable oil heated to 350 degrees.
*Turn tube biscuits into doughnuts. Heat vegetable oil to 350 degrees. Hold a biscuit in one hand and use kitchen scissors to make five cuts from the edge toward the center. Fry until golden and shake in a bag with powdered sugar or cinnamon sugar. They’re best while fresh and warm.
*The better the ingredients, the better the bread. Buy unbleached whole-grain flours, sea salt, first-press oil, and stone-ground cornmeal.
*Add taste and softness to hot, fresh bread by brushing it with melted butter. Or, use spray-on margarine.
*Homemade bread will slice easier if it’s cooled, wrapped, and allowed to “season” several hours or overnight.
*If you don’t have fondue forks, use two chopsticks or two long bamboo skewers to spear bread securely.
*Some batters and doughs cook better in a tube pan, because the “chimney” in the middle of the dough brings heat to the center for more even baking.