
Follow these washing, polishing, and waxing tips to make your machine shine.
By Mark Quasius, F333630
November 2019
You regularly maintain your RV’s batteries, generator, air conditioner, holding tanks, and many other components, right? 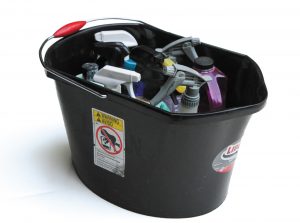 Likewise, the exterior needs a bit of care now and then. After all, you’re proud of your RV and want it to look its best. Plus, it’s important to protect your sizable investment.
The finish of most RVs today is either gel coat over fiberglass; Filon (a fiberglass composite material); or full-body automotive-style paint. In some cases, anodized aluminum is used. The methods of protecting gel coat and automotive-style paint are similar, although marine-grade sealer generally is applied to gel coat. Never buff Filon or use coarse rubbing compound on it, lest the fiberglass strands be exposed.
A single product won’t do everything, nor is there a quick, easy way to protect your shine. It requires a bit of work and a number of products. As I explain the process of cleaning and protecting an RV’s exterior, I’m not attempting to promote certain products, but I’ll refer to some I’ve used successfully. You may have your favorites, so feel free to substitute brands of your choosing.
Washing
Dirt that accumulates over time can damage a finish. But if you remove dirt incorrectly, you may do more harm than good. Wetting the dirt and wiping it off with a rag or towel will scratch the finish.
First, rinse the vehicle down to remove larger pieces of dirt. You’ll need a good fire-hose-style nozzle or gun that can dial in a wide spray or a narrow, powerful stream. Be careful not to shoot water into refrigerator vents, water heater and furnace vents, slideout seals, or anywhere that water intrusion could cause damage.
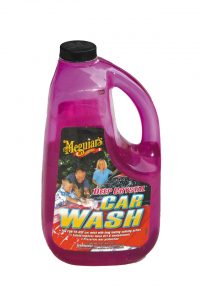
Meguiar’s Deep Crystal Car Wash
Next, wash the exterior with plenty of soap and water, working the solution so you create sufficient suds. Allow time for the suds to soak into the dirt and to loosen and lift it from the RV’s surface. Then, flush with lots of water so the particles wash away without scratching.
Car wash soap is fine, but do not use dish soap, as it removes wax from the finish. And always wash from the top down. Otherwise, you’ll waste time cleaning areas that later will be covered with dirt as it slides down.
It’s best to use a wash mitt, either on your hand or attached to a pole. Such mitts may be synthetic microfiber or natural lamb’s wool. The latter is the best choice, because some imported synthetic microfibers aren’t as soft as they should be. I know many people will cringe at this, but I use a large brush on a pole. The brush has very soft bristles. I replace it often, so the bristles don’t get a chance to harden over time. Using plenty of soap and water to flush the dirt away is more important than the brush or mitt.
You’ll likely need a large bucket for your mop. Don’t fill it too full, though, because every time you dip the mop into it, the soapy water will turn darker with dirt, which is not friendly to the finish. Don’t expect to wash the entire RV with one full bucket. Use smaller loads, and replace them with fresh water and soap before they get too dirty.
Or, you can use the two-bucket method. Next to the soap bucket, keep a bucket full of clear rinse water. After you swab down the side of the RV, dip the mop into the rinse water. Then dip it into the soap bucket. The soapy water will stay much cleaner. You occasionally will need to dump and refill the rinse bucket, but that’s just water from the hose.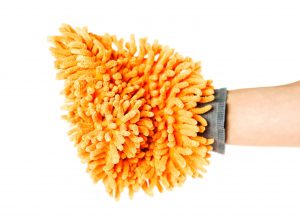
As noted previously, you should use car soap, which is designed to lift off dirt and allow it to float away. Such soap is intentionally gentle, so tough spots may require more than one visit with the mop. Some “wash and wax” products even have a bit of carnauba wax in them. That might be fine if you want to do a quick wash that adds a bit of shine, but the wax doesn’t last very long and the film isn’t very thick. So, to do a proper washing, go with a pure car wash soap. I generally use Meguiar’s Deep Crystal or Mothers California Gold.
Removing bugs can be difficult, especially on a Type A motorhome where the large, flat front end is a real bug magnet. The best tip is to remove the bugs while they’re fresh. If allowed to remain, the carcasses can eat into paints and clear coats. Various products are available, and you may need to experiment to see which works best for you. An alternative is to wash the front in the usual way, and then apply concentrated car soap (not diluted with water) to the bug splatter and let it penetrate a while.
Meguiar’s Bug And Tar Remover
Don’t let the water dry on the RV. Water contains minerals, and evaporation leaves those dreaded water spots. With a large RV, you may need to wash one area and then dry it using a towel or a chamois before moving on to the next section.
An even better option is to use a deionizer, which removes mineral content from water, resulting in a spot-free rinse without wiping. In a deionizer, water passes through media that remove ions, which are electrically charged atoms or molecules. Deionizers should be used only for rinse water; otherwise, the media wear out quickly. When washing a large area, simply revert to the rinse water before moving to the next section.
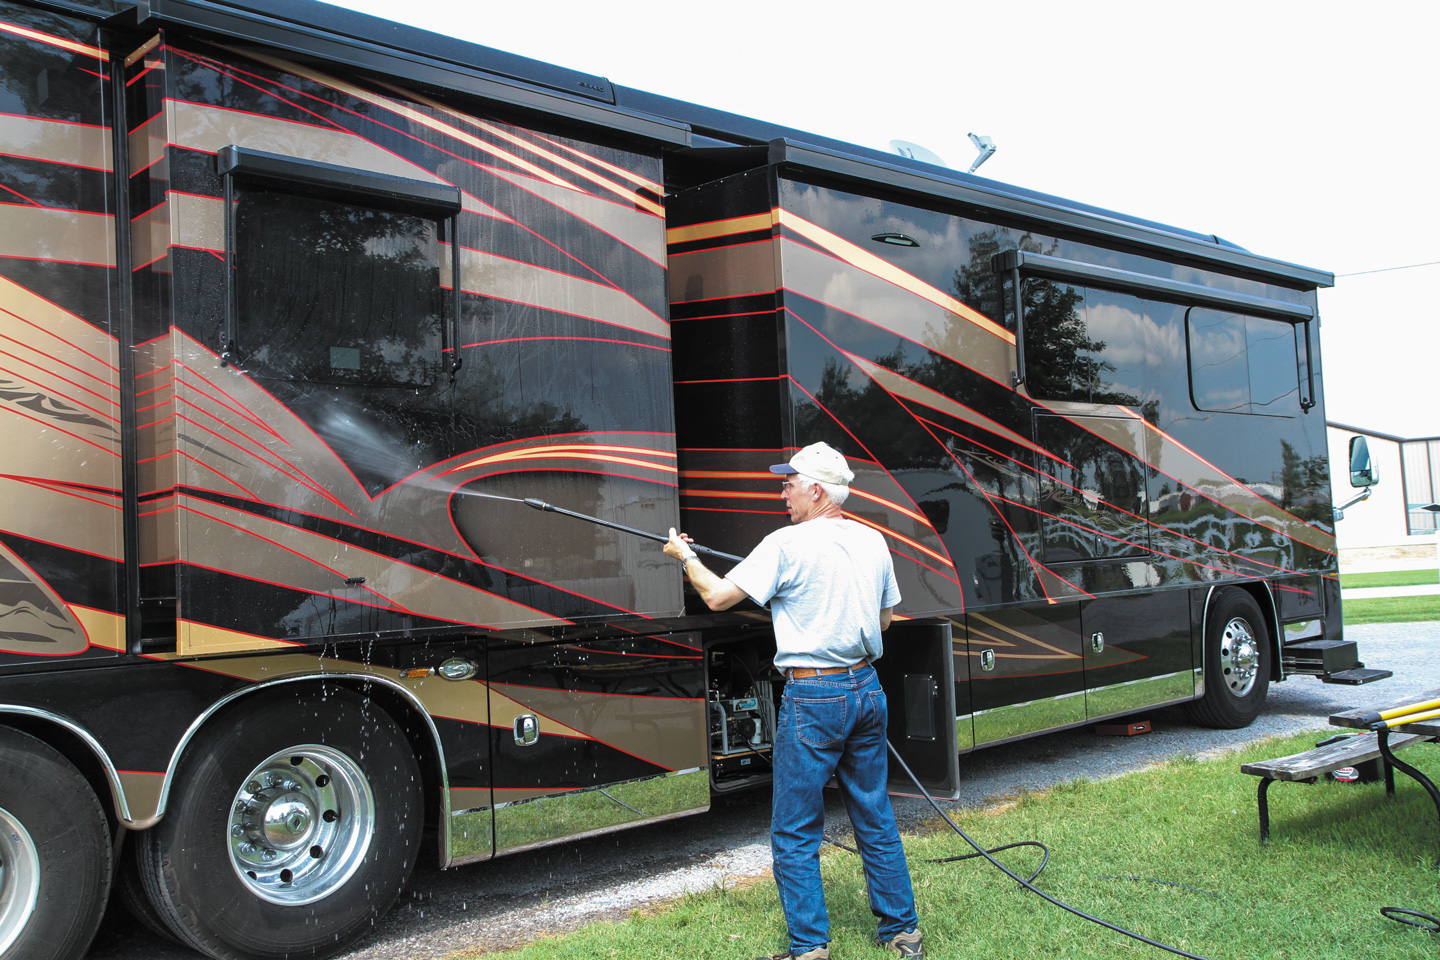
This brings us to pressure washers, which sometimes get a bad rap. Shooting water at 1,000 psi at your RV may sound like a bad idea, but if operated correctly, a pressure washer can be a real benefit. It can save you time and energy while using less water than washing by hand. A pressure washer also can do a better job of loosening dirt and allowing much of it to flow away before you attack it with a mop or brush.
The psi rating of a pressure washer is based on the pressure in the hose line just before the water reaches the nozzle. Once it leaves the nozzle, water fans out and the pressure drops substantially. So, if you place your finger right on top of the nozzle and pull the trigger, you’ll probably be headed to the emergency room; but if you hold your hand 3 feet from the nozzle, you can wash it off with a heavy mist.
Keep that in mind when power washing an RV. For example, if bugs are stuck to a motorhome’s windshield, you can get up close with the nozzle and blast them off. But if you do that on a Diamond Shield protective film or a decal, you’ll most likely cause some damage. The key is to control how far you are from the RV and resist the urge to get too close when something doesn’t immediately come off.
I installed a Road Wave RV Pressure Washer System in our Entegra Coach motorhome. The system is supplied by two water sources — the regular wash water and deionized rinse water. I press a switch to swap between them. It’s a great way to remove bugs from the front of the coach.
Polishing
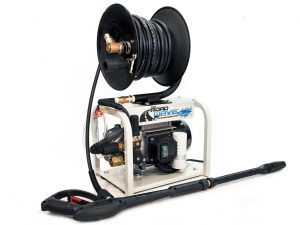
Road Wave Pressure Washer
Once the RV is clean, inspect the finish. If it’s shiny and smooth, you may be ready to hit the road. But if it’s scratchy or dull, you’ll need to polish it to bring out the shine. After that, you can wax or seal the surface.
To remove overspray, fallout, rail dust, or other surface contaminants that may rest on the finish, a clay bar can be used in conjunction with a lubricating spray, such as Meguiar’s Quik Detailer spray. Clay bars create suction that lift small bits of debris up and off the finish. If you’re not sure whether you need a clay bar, rub your hand across a clean portion of the finish. If you can fee
Meguiar’s Mirror Glaze Professional Show Car Glaze
l little bumps and detritus, it’s time to get out the clay bar. Clay bars remove wax and sealant, so you will need to reseal the finish. Clay bars always should be used before polishing, not after.
Polishing is nothing more than very fine sanding. Like sandpaper, polish comes in different grits. Body shops smooth out severe damage by using a coarse-grit rubbing compound, followed by progressively finer grits, and finishing with hand glaze to bring out the shine. This is more than most of us need to do. A polish such as Meguiar’s Mirror Glaze Professional Show Car Glaze removes swirl marks and scratches, and adds a reflective shine.
Polish can be applied by hand or by machine. Doing it by hand on a large RV is too big a job for many people. You’ll save time and avoid sore muscles by using a machine. Pros use disc polishers, but unless you have mastered the necessary skills, you may wind up with swirl marks. Judging by some of the new RVs I’ve seen, even professional detailers sometimes create swirl marks. A better choice is a random orbital polisher with foam pads. The random orbit ensures that the disc won’t track in the same spot every time, which can lead to swirl marks. My Porter-Cable 7424XP Variable-Speed Random Orbit Polisher makes it easy to spread polish and to buff out a great shine.
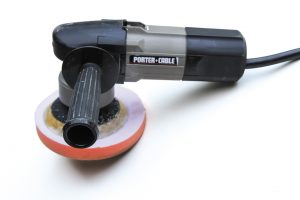
Polisher
Paint typically is applied in layers and is covered by clear coat, which helps prevent scratches from reaching the color coat. Clear coat also contains UV inhibitors to help protect against the sun’s harmful rays. Polishing the clear coat restores its shine but also removes a slight amount of that coating. So, keep the polishing to a minimum, and spend more time protecting the finish with a good wax or sealant.
Waxes And Sealants
Meguiar’s Synthetic Sealant 2.0
Once the finish has been polished and wiped clean, it’s time to apply wax. Carnauba wax has been the standby for many years. There is no such thing as a 100 percent carnauba wax, because carnauba is as hard as a rock. Typical waxes vary in consistency; the best quality waxes contain about 30 percent carnauba.
Apply a thin coat in a circular motion using a microfiber cloth, a soft towel, or a foam pad. Allow it to dry to a haze, and then buff it off with a clean towel. Work a small area at a time so that the wax doesn’t get too hard while you are applying it elsewhere. Don’t press too hard or you’ll wipe away part of the protective coating. Also, don’t allow the wax to get on plastic or matte-finish surfaces; it will leave a white stain. Once you finish, inspect the vehicle for leftover wax. Use a small, soft brush or a towel to remove the excess from nooks and crannies.
Wax that contains petroleum should not be applied to an RV’s vinyl graphics. Petroleum can cause the vinyl to crack and curl. That warning aside, wax provides an attractive finish and a protective layer. It can add a bit of an “under glass” look by adding depth to the finish. But typically it lasts only three to four months.

Meguiar’s Chrome Polish
High-tech polymers, introduced in recent years, do a much better job and last longer. Meguiar’s Mirror Glaze Synthetic Sealant 2.0 extends protection to a year. I use towels to apply the purple glop to the finish, rub it in a bit, wait for it to dry, and then wipe it off, also with towels. This is similar to applying wax, but the sealant covers larger areas without drying too quickly. It wipes off much easier than carnauba wax, and any excess comes off more readily. It’s much faster to apply and not as hard on your arm muscles. The trademarked Hydrophobic Polymer Technology provides a durable protective layer that beads up water much better than wax and offers more depth to its reflection. After using this, I won’t ever go back to wax.
Chrome And Glass
Contaminants on the surface of chrome cause it to develop pits. A chrome polish removes the contaminants and restores the shine. I use Mothers California Gold Chrome Polish on all my vehicles. It seems to have the perfect balance of being safe for all chrome finishes yet strong enough to do the job. I’ve used it on plastic chrome, such as mirror housings, as well as real chrome metal. It works great and doesn’t scratch. In fact, I even use it to remove water spots from deep-tinted windows that dried in the sun. Under those circumstances, it works much better than glass cleaners, and I’ve seen no scratches. But generally for windows, basic glass cleaners work well.
Wheels And Tires
Alloy wheels can be clear coated or uncoated. Coated wheels often have a label, such as Accu-Shield or Alcoa Dura-Bright. The clear coat helps prevent corrosion. Coated wheels should never be polished. Use a cleaner formulated to remove brake dust and other road grime. Such cleaners may be foam sprays or liquids. Apply them, scrub with a mild brush, and then rinse with water.
Zephyr Pro-40 polish
Uncoated wheels require more aggressive cleaning. Polishes are used to remove the surface contaminants, haze, and etching. I’ve used Mothers Mag & Aluminum Polish in the past, but more recently I have come to prefer Zephyr Pro-40 polish. Polished wheels look great, but they require a bit of effort and don’t hold their shine for long. It’s best to polish more frequently rather than wait until you have to deal with deeper pits in the wheels.
Dirt and chemicals that accumulate on tires can harm the rubber compounds. A few years ago, Consumer Reports asked several tire manufacturers about tire cleaning/protectant products. Michelin recommended using soap and water. Continental advised against using lubricants or chemicals on tires. Bridgestone officials said antioxidants and waxes are in their tires to protect them from the environment, and that a dull appearance over time is a result of waxes migrating to the surface, and helps protect the tire. The article said: “Aftermarket protectants may shield a tire from harmful elements, but if they are not used routinely, they could leave the tire exposed.”
It’s important that you never use a tire product containing petroleum distillates, which weaken the rubber. That also goes for tire dressings that give a shiny, high-gloss appearance.
If a tire appears dull and chalky, a foam cleaner such as Black Magic Bleche-Wite does a good job, and it works great on whitewalls or raised white lettering. After applying a tire shine product, you can leave it on for a high-gloss look or wipe it off immediately for a more subtle appearance. It’s best to spray tire cleaners and dressings onto a rag and then wipe the tire, because such products may cause etching in shiny wheels.
Summary
When you wash, polish, and seal your RV, be sure to do it under the right conditions. An enclosed facility is ideal, but most people don’t have access to a garage that large. If doing this work outside, pick a day when it isn’t so hot and preferably when the sky is overcast, so you can avoid the sun. Or, do it in steps over a few evenings. The RV’s surface should be cool and dry to prevent damage to the paint.
While working on your RV, take the time to do a good inspection. You might, for example, find a loose bead of sealant that should be repaired to prevent water intrusion.
When you finish, you’ll have the satisfaction of knowing that your RV is protected against the elements, and you can take pride in the fact that it looks great once again.
More Info
Meguiar’s
(800) 347-5700
www.meguiars.com
Mothers
(714) 891-3364
www.mothers.com
Zephyr Sales Company
(800) 763-8883
www.zephyrpro40.com
Road Wave
(844) 549-9283
www.theroadwave.com