
Taking preventative measures can help to avoid annoyances when it comes to the gray-water and black-water plumbing systems in your home on wheels.
By Steve Froese, F276276
February 2023
Last month I wrote about the RV fresh-water system, so I figured, why not discuss waste water this time? The waste-water system is one of the simpler structures in an RV, but it also can lead to frustration for the owner, especially if issues occur with the black-water (toilet) plumbing.
A waste plumbing network has three primary components: drain, waste, and vent — collectively referred to as the DWV system. Every RV plumbing system needs to be built in conformance with NFPA 1192: Standard on Recreational Vehicles, or CSA Z240 in Canada. Among other things, these standards specify the minimum criteria for the safe installation of plumbing systems. All components used in the system must be “listed” as complying with these standards.
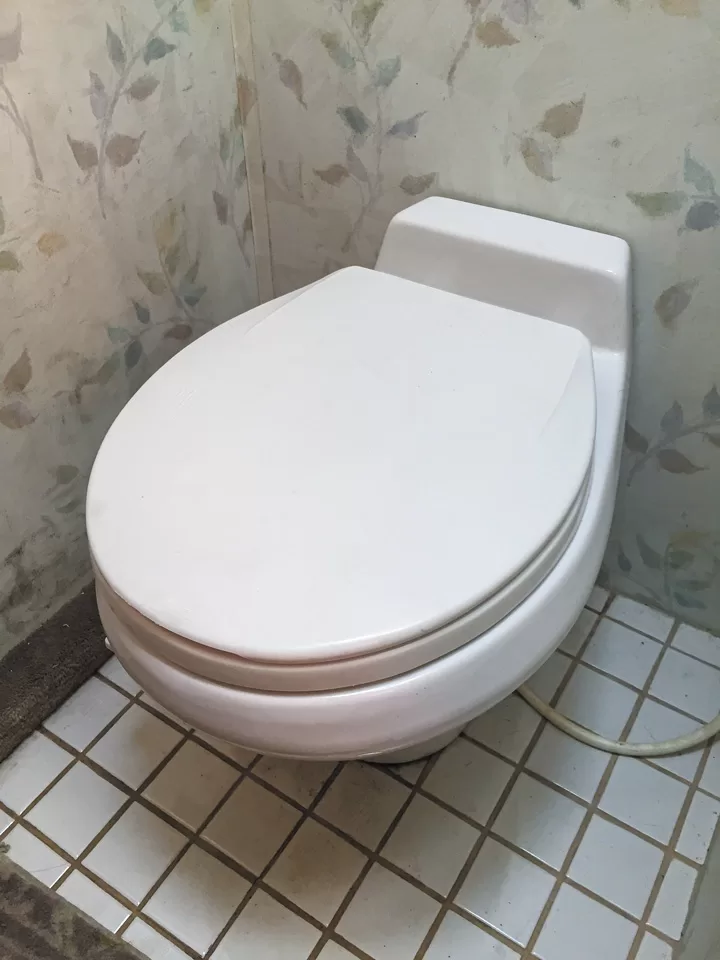
An RV toilet discharges waste directly into the black-water holding tank.
Most RVs that contain a fresh-water system also incorporate waste-water systems. Exceptions to this include, but are not limited to, small trailers, such as pop-ups, that do not have toilets and incorporate sink drain lines that exit out the sidewall of the trailer. These require the owner to attach a portable holding tank to the drain outlet. For the purposes of this article, we will consider recreational vehicles that have at least one toilet and sink and at least two holding tanks.
RV holding tanks ordinarily are made of acrylonitrile butadiene styrene (ABS) or polyethylene (PE) plastic and generally are black in color. In contrast, fresh-water tanks generally are translucent white and made of PE plastic.
Waste-water plumbing components almost always are made of ABS plastic. Schedule 40 pipe, which refers to the wall thickness, typically is used. The toilet plumbing must be at least 3 inches in diameter, while the drain and vent plumbing pipes usually are 1½ inches in diameter.
RVs today have separate holding tanks for the gray water (sink and shower drains) and the black water (waste/sewage). Each holding tank must have a vent. Since RV fixtures and holding tanks rely on gravity to empty, having air enter the system as sinks and tanks are drained results in a faster and more thorough process. In extreme cases, flow down the drain or out of the tanks may slow significantly or even stop if venting is impeded. Holding tank vents are plumbed straight up and through the roof of the RV, so you’ll see these round pipe vents on the roof of your unit.
Each drain is plumbed directly to the gray-water holding tank through a rigid ABS piping system and includes a trap (typically a P-trap), which holds water to help prevent sewer gases from entering the RV through the drain system. The toilet fixtures discharge directly into the black-water holding tank through a network of pipe with a minimum diameter of 3 inches. As mentioned, the DWV system relies on gravity; therefore, all drain and waste plumbing must incline downward from the fixtures to the respective holding tank.
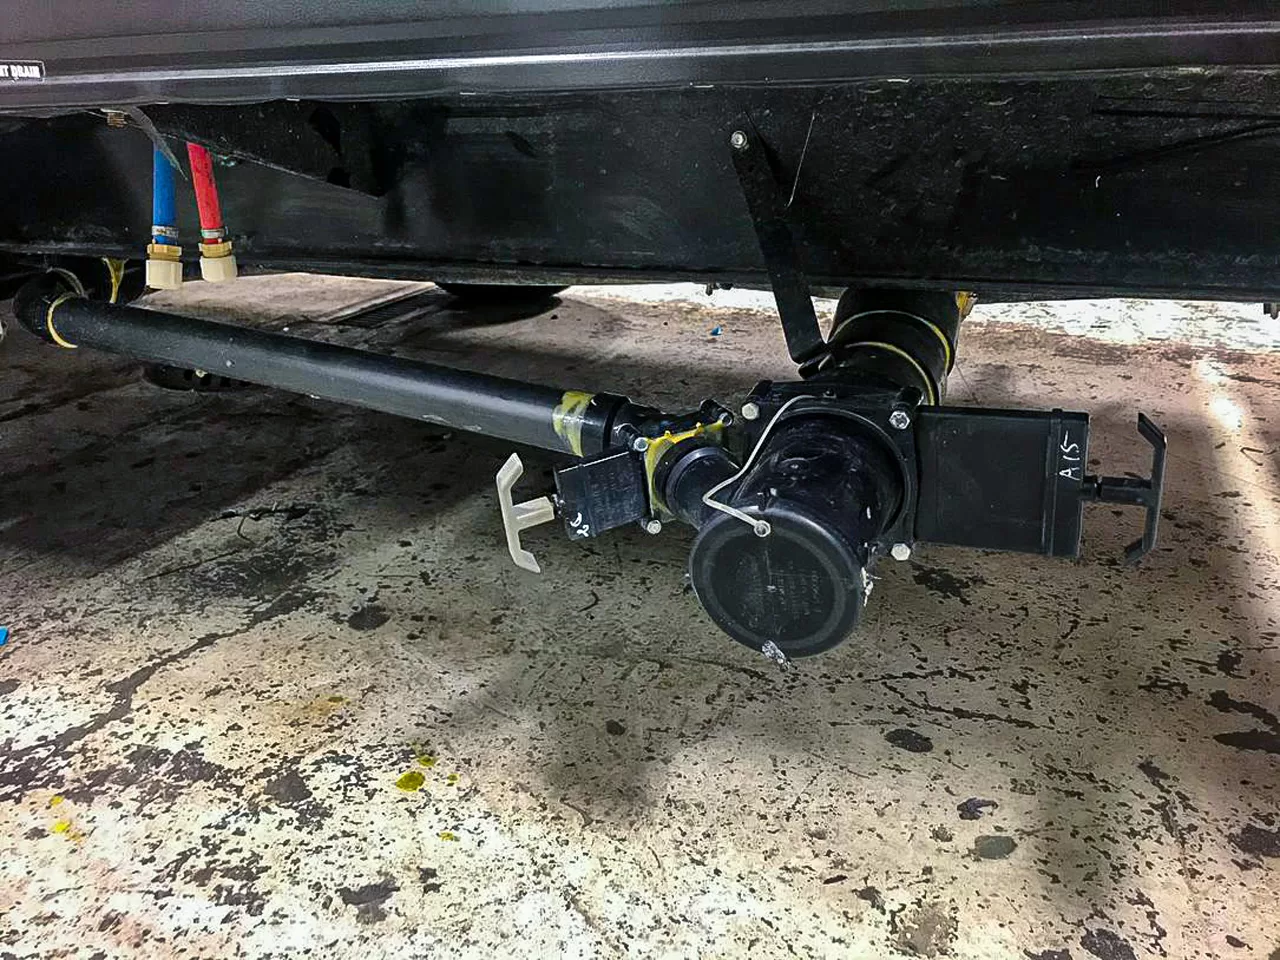
In addition to vent and fixture connections, the holding tanks are plumbed directly to the discharge valves. Most RVs have a 1½-inch discharge gate valve for the gray-water drain and a 3-inch discharge gate valve for the black waste water. This is where the owner attaches the sewer hose to the dump station or RV park connection.
To ensure that water is not drawn out of the P-traps by siphoning, and because methane gas must be allowed to escape the piping system, venting also is required to be immediately downstream of any trap. These vents usually release through the roof of the RV, but in some cases, they can release through the RV sidewall. Roof vents may or may not be capped. An anti-siphon trap vent device (ASTVD), often referred to as a check vent, sometimes is used just downstream of a trap to provide venting. This is only a secondary vent and must be used in conjunction with the primary vent that extends through the roof. A roof vent allows air into and out of the drainage system, whereas an ASTVD will allow air into the system but not out. The ASTVD is located inside the RV, under the sink, and does not allow system air to be released into the interior of the vehicle. So, roof (or sidewall) vents are required for each P-trap, whereas ASTVD devices are not mandatory, although they often are utilized. Trap vents frequently share common roof vent lines, so the number of plumbing roof vents on your RV will vary and likely is not indicative of the actual number of P-traps in your unit.
The waste-water system consists entirely of rigid (usually) ABS pipe and includes traps, elbows, tees, and other fittings that allow all your plumbing fixtures to drain by gravity into the holding tanks. RVs that have plumbing installed in slideouts utilize special fixtures that allow the rigid waste plumbing to expand, rotate, and contract with the slide movement.
While the waste-water plumbing system in an RV tends to be fairly maintenance-free, there are some ways to minimize problems. First, if you live in a climate that dips below freezing in the winter, be sure to properly winterize your RV. Owners sometimes overlook winterizing the waste system itself. This involves pouring about a cup of plumbing antifreeze down each drain so water in the traps doesn’t freeze and crack the fittings.
It is common practice to leave the gray-water gate valve open while connected to an RV park sewer hookup, although some people complain about gases from the park sewage system backing up into the RV. This generally means that one or more P-traps don’t have water in them. I prefer to keep my motorhome’s gray valve open when I am connected at an RV park, especially since I have a washer/dryer in my unit.
Black-water drain valves, on the other hand, should always be closed, except when emptying the tank. In addition, the black tank should not be emptied until it is at least ¾ full. This is to help ensure that all the solid waste exits the tank. The vortex action that occurs when the tank has a high volume of waste helps to make sure solids are suctioned out of the tank. Resist the temptation to drain your black tank when it does not have much waste in it.
Finally, if you have a black-tank flush installed on your RV, be sure to use it regularly to help clean that tank of solids. If you don’t have a permanently installed tank flusher on your RV, have one added or use a hand-held tank flusher. The latter is available at stores that sell RV parts. It threads onto the end of a garden hose attached to a water supply, and you stick the end of the wand down the toilet to flush the tank. Whether you use a hand-held tank wand or a permanently mounted tank flusher, do not use your potable water hose (the hose you use to supply city water to your RV) for this cleaning process; instead, purchase a separate hose for this purpose.
Another relatively common service issue relates to the gate valves at the waste-tank drain outlets. These valves do fail from time to time, or the seals start to leak because of damage or becoming extruded from their seats. Since the waste plumbing is rigid ABS, and the valves are plumbed between the gray and black holding tanks, they can be extremely difficult to replace. It is best to seek professional assistance if any of your waste valves start to leak. Attempting to replace these yourself can cause additional damage to the plumbing at worst, and extreme frustration at best.
The goal of this article is to provide you with some basic understanding of the waste plumbing system in your RV. As with all other RV systems, a little TLC goes a long way!
Send your troubleshooting questions to Steve Froese at techtalk@fmca.com. The volume of correspondence may preclude personal replies. Not all responses will apply in every instance. Some situations may require a visual inspection and hands-on testing. If you choose to follow any procedures outlined in this column, first satisfy yourself that neither personal nor product safety will be jeopardized. If you feel uncomfortable about a procedure, stop and make an appointment with an RV service facility.
You may also want to consult the FMCA Forums (https://community.fmca.com) to see whether your question has already been addressed or, if not, to post it.