
The final installment in a series of articles about RV refrigerator or cooling unit replacement.
By Steve Froese, F276276
Let’s finish up the discussion regarding replacing an original-equipment RV refrigerator cooling unit with a Dutch Aire cooling unit, commonly known as an Amish cooling unit. You’ll have a few additional steps to perform on the original cooling unit before removing it from your refrigerator as per the instructions provided with the new unit. Once again, I highly recommend purchasing a cooling unit kit that includes new 120-volt elements and fans, as this is your best opportunity to replace these aging components.
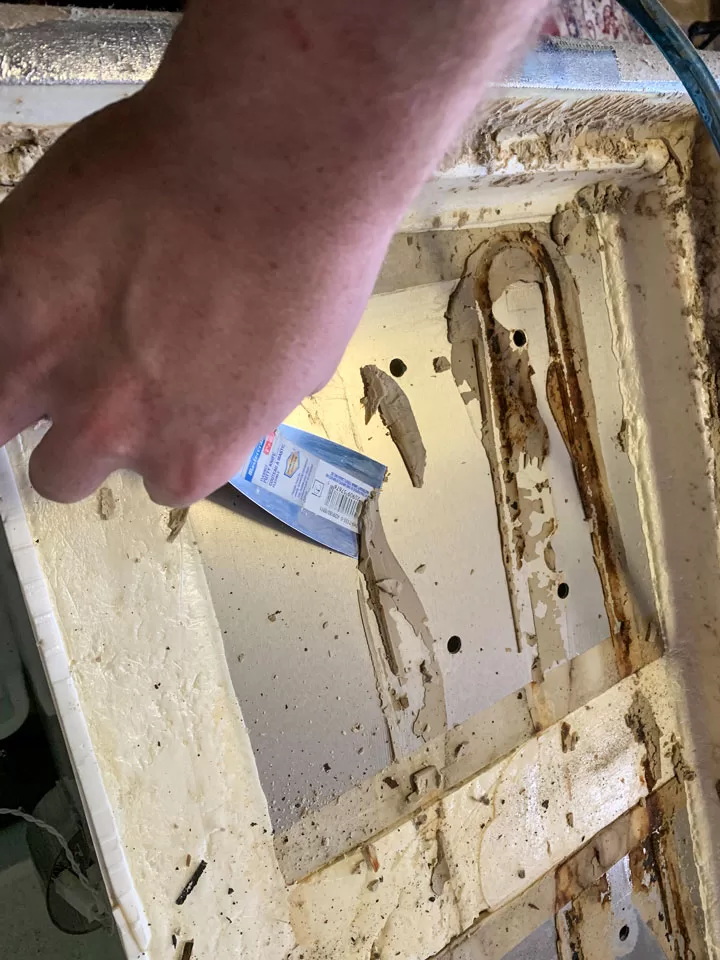
After you have removed all the required wiring, plumbing, and fasteners that secure the cooling unit to the fridge box, you are ready to remove the cooling unit. The seams between the fridge box and cooling unit may be covered with tape (most likely aluminum tape). Resist the temptation to remove this tape and instead cut it. Attempting to remove it might rip the cardboard fridge backing and damage it.
Once you finally have the old cooling unit removed and stripped of all the required appurtenances, it is time to prepare the fridge box for the new unit. Remove all the thermal mastic and residual spray foam — but not the foam that is part of the box itself — from the fridge cavity. Ensure the area is as clean as possible prior to installation of the new unit. If you have opted to install a fin fan, now is also the time to do this. I did not purchase this option, so I will not cover it here, but the instructions are clear on this point.
Follow the instructions for the last steps to perform on the old cooling unit. This includes removing the propane burner from the old unit and installing it on the new cooling unit. This is a good opportunity to replace the old propane burner with a new one. It is also time to install the 120-volt element(s).
I have one extremely important step to add to the instructions that are provided regarding applying the thermal mastic. It is imperative to understand that the thermal mastic compound enables the heat transfer between the cooling tubes and the freezer plate and refrigerator fins. Without the thermal mastic, thermal transfer will not occur, and the refrigerator would not cool. So, after applying the thermal mastic, it is important to put on gloves and spread the mastic by squeezing it hard onto the tubing. The mastic will not naturally want to adhere to the cooling unit tubing, and if you don’t spread it on the tubing and make sure it sticks, you probably will find that it falls off the tubing as soon as you turn the cooling unit over to install it in the fridge box. This is a crucial step that isn’t mentioned in the instructions. Pretend your finger is a knife and you are spreading peanut butter on a piece of toast — make sure it adheres to the tubing along all points.
Once you lay the new cooling unit into the fridge cavity, visually check it for overall fit. It is normal for the cooling unit to not be snug in the cavity. After you confirm that the cooling unit fits properly, insert one screw in the top mounting hole and another in the bottom mount-ing hole on the opposite side. As noted, it is normal for the cooling unit not to be tight against the fridge box at this point.
Place the refrigerator upright, open the doors, and check the alignment of the refrigerator fin and freezer plate mounting holes with the cooling unit holes. Alignment does not have to be perfect, but at least a portion of the cooling unit screw holes should be visible at each mounting hole location. If not, have your helper loosen the top cooling unit mounting screw and shift the cooling unit until all the interior screw holes are basically aligned as described above. You may enlarge the screw holes in the fridge or freezer box to improve the alignment if need be, but do NOT attempt to enlarge or correct the holes in the cooling unit, as you run the risk of drilling through the tubing. I witnessed a senior technician do this at a dealership where I worked. Never attempt to drill holes in the cooling unit frame for any reason.
Cooling units usually come with new screws for the inner plate and fins. Use these to resecure the freezer plate and fridge fins. Proceed carefully and ensure that each screw engages with the mounting holes in the cooling unit framing. Do not overtighten the screws. Once this is complete, the cooling unit should be tight against the fridge box.
Lay the fridge back down on its doors, and, as per the instructions, apply spray foam to the seam around the cooling unit. It is imperative to apply foam along every point of the seam, including the hard-to-reach areas. Any gaps left without foam could severely affect the cooling. If you encounter any areas of the seam that are too narrow to inject foam, enlarge the seam with a knife enough to insert the spray foam nozzle and then apply the foam. After ensuring the seam is fully foamed, apply aluminum tape over the entire seam. This is for cosmetic purposes only and has no effect on cooling.
Reconnect the wiring and plumbing as indicated in the instructions, noting that careful marking of the wiring prior to disconnection will make this much easier. Install the fans as indicated, making sure to orient them correctly. This is an important step, as having the fans blow the wrong way will affect the important airflow behind the fridge.
Once all this is complete, set the refrigerator back up and use a spirit level to make sure the cooling unit is level to the fridge box. If it isn’t, loosen the top and bottom mounting screws and square up the unit. Do not loosen any of the interior plate or fin screws. Once the cooling unit is level, retighten the mounting screws and install the remaining two screws on the top and bottom.
Inspect the wall cutout to make sure it is clean and that the insulation is in place. Remove or trim the top baffle, as it is not required for the Amish unit and will impede airflow.
Perform the upper slideout fan installation if required, as well as the final adjustments to the roof vent. Different fan kits are available, so the actual instructions for the kit you purchase may vary from what is shown in the cooling unit installation instructions.
Slide the fridge into the wall opening and reinstall all the securing screws on the inside and outside. Reconnect the electrical, plumbing, and propane lines. Make sure to leak-check the propane line using a soap and water solution. Tighten the fitting, turn on the propane, and spray the solution on the propane fitting. Look for bubbles to form and expand. Ignore the bubbles already there as part of the solution. You may need to use a flashlight to carefully inspect the fitting and solution for several seconds, as some leaks may be very small. If you encounter any, tighten the fitting until the bubbles disappear. You may also have some damage to the flare fittings on the fridge or propane tubing. In that case, leave the propane off and have a certified RV technician repair the line.
Once you have completed all the steps, it is time to test your refrigerator on both propane and AC (plus 12 volts, if applicable). If you have any issues, check your work, or feel free to contact the cooling unit manufacturer for assistance.
I hope this article has been educational, especially if you need to replace your cooling unit in the future. As always, please reach out to techtalk@fmca.com for assistance with this or any other technical issue you may be experiencing with your RV.
Send your troubleshooting questions to Steve Froese at techtalk@fmca.com. The volume of correspondence may preclude personal replies. Not all responses will apply in every instance. Some situations may require a visual inspection and hands-on testing. If you choose to follow any procedures outlined in this column, first satisfy yourself that neither personal nor product safety will be jeopardized. If you feel uncomfortable about a procedure, stop and make an appointment with an RV service facility.
You may also want to consult the FMCA Forums (https://community.fmca.com) to see whether your question has already been addressed or, if not, to post it.
Recalls
Looking for the latest RV-related recall information? Visit FamilyRVingmag.com for a list of the most recent recalls issued by RV and component manufacturers. Or, to search for recalls, investigations, and complaints by vehicle year, make, model, and VIN, visit www-odi.nhtsa.dot.gov/owners/SearchSafetyIssues. NHTSA’s Vehicle Safety Hotline is (888) 327-4236.