
A look at what’s involved in repairing or replacing this vital RV component.
By Steve Froese, F276276
July/August 2025
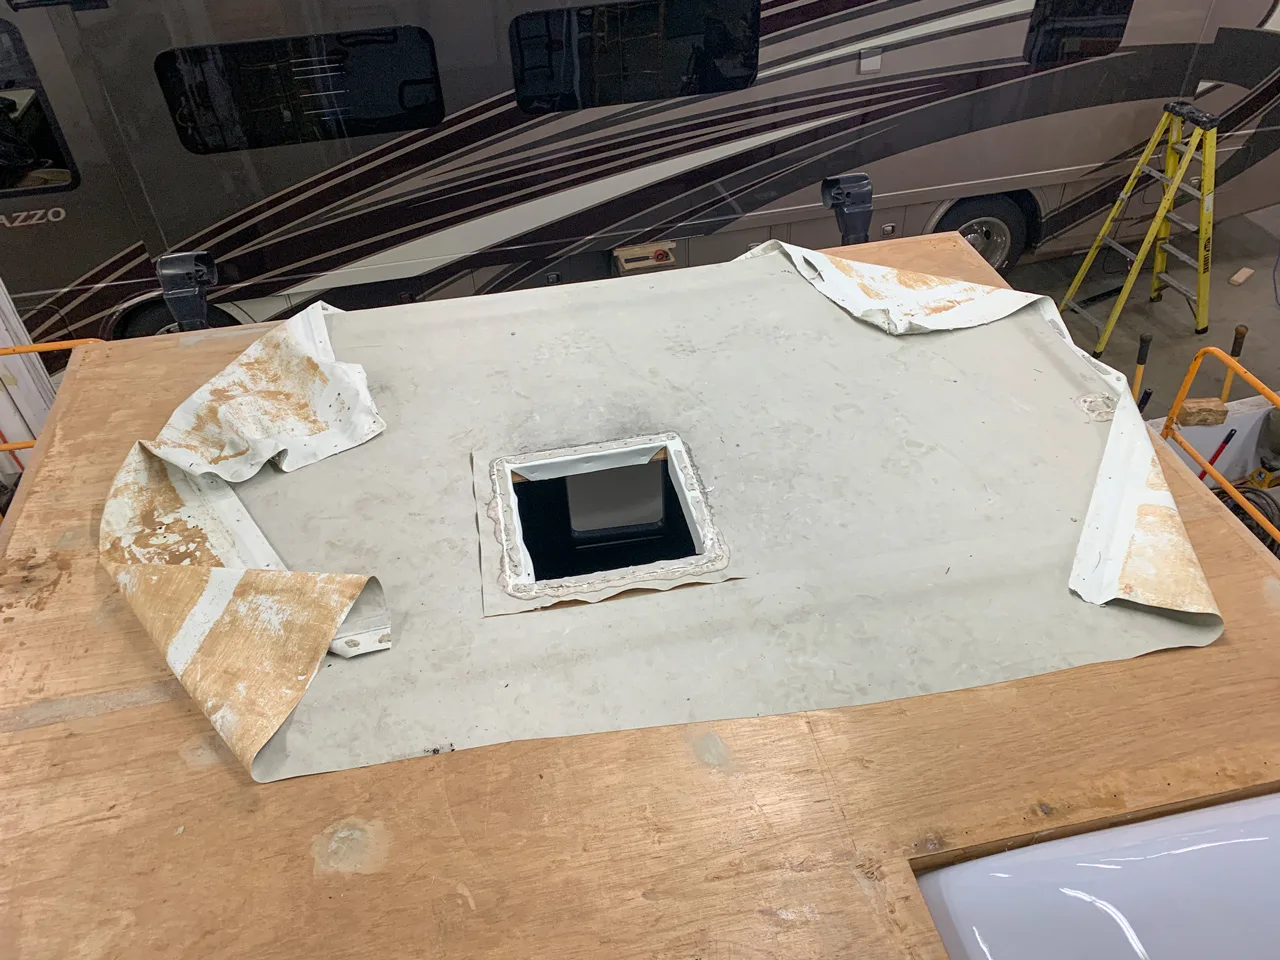
Once fixture have been removed and putty and sealants have been scraped, the rubber membrane itself can be taken off.
As many readers have determined by now, I am a strong proponent of do-it-yourself RV maintenance and repair. That is why I provide a difficulty rating whenever I write a how-to article. It is fundamentally important to understand your own limitations before embarking on a project; otherwise, you may find yourself in a deep financial hole if you become forced to seek professional assistance to complete the undertaking.
In this article, I will summarize the steps required for replacing a rubber-membrane RV roof. By my estimation, this ranks a 5 out of 5 on the difficulty scale, although it is more labor intensive than difficult. But it does require advanced DIY skills and precision. This is not intended to be a step-by-step explanation, but rather an overview of the process required, so you know what you would be faced with if you decided to tackle this sort of job.
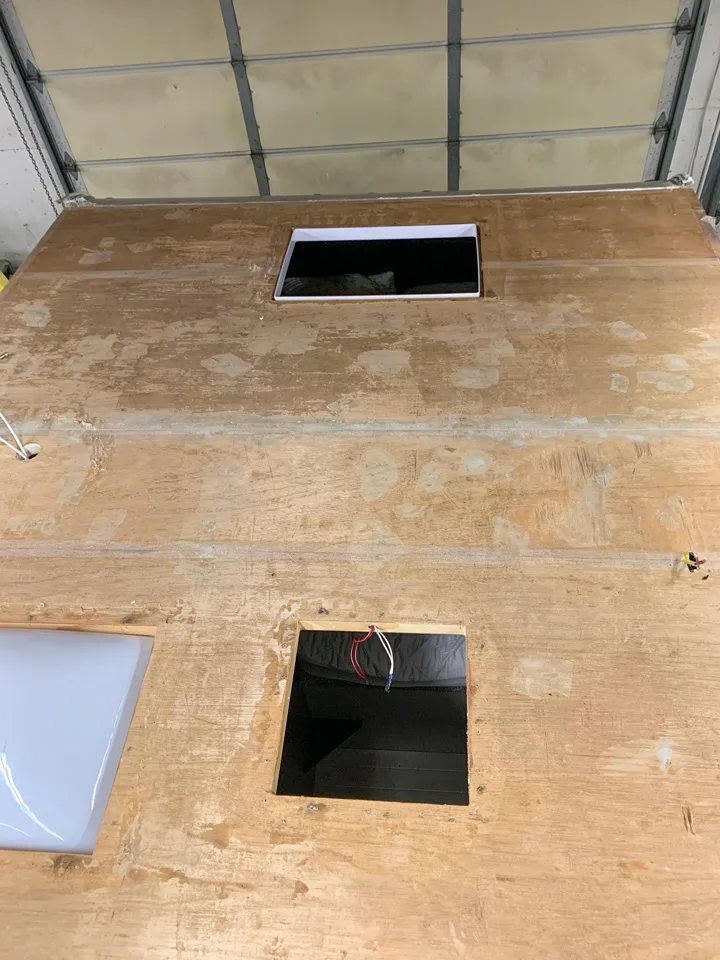
With the rubber removed, the wood substrate can be examined for damage or rot.
While it is possible to patch a rubber roof, ideally with Eternabond-brand tape or a similar product, it is not advised for larger areas.
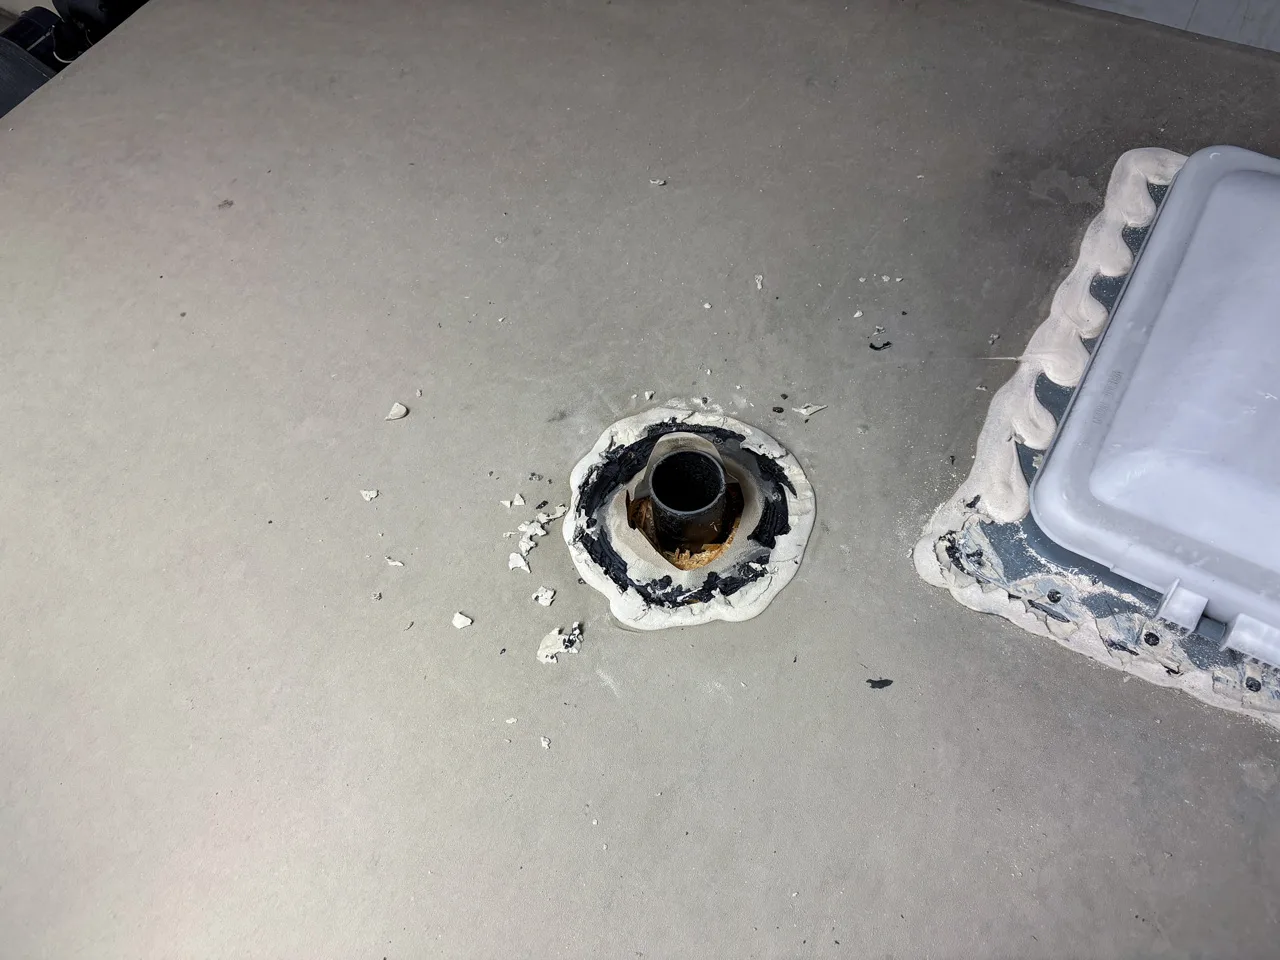
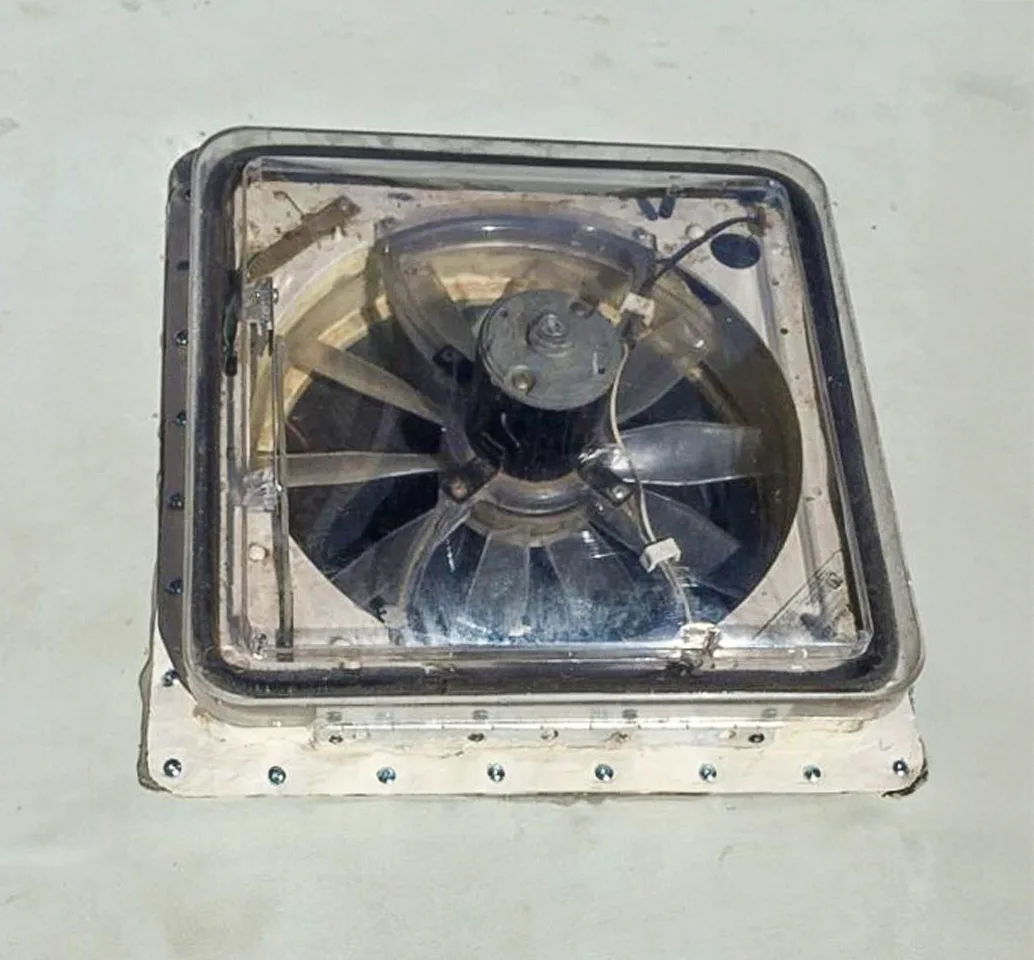
The first step in replacing an RV roof is to remove all fixtures from it. This includes, but is not limited to, the moldings, among them the drip rails on the sidewalls; vents; antennas; tank vent covers; air conditioners; ladders; and awnings.
Removing the fixtures involves a lot of putty and sealant scraping and is one of the most labor-intensive parts of the job. The screws also must be removed. After removal, the parts need to be completely cleaned of putty and sealant for later reinstallation.
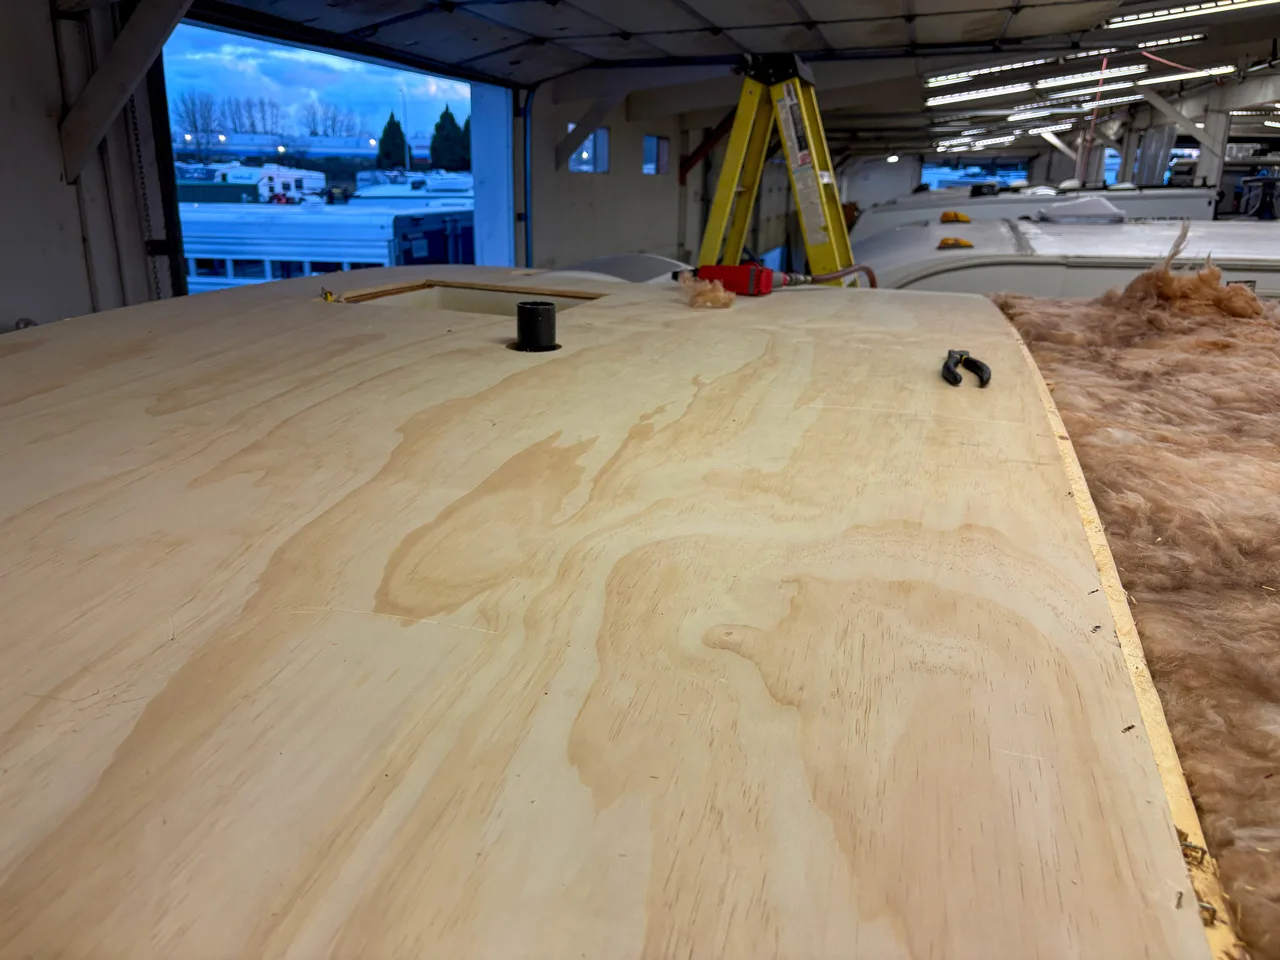
Or it may be necessary to replace some or all of the wood sections.
Once all fixtures have been taken off the RV, the old rubber membrane can be removed. Rubber roof replacements should be performed only in the case of significant water damage to the wood substrate or in the case of impacts or other damage, such as a tree or another object falling onto the roof.
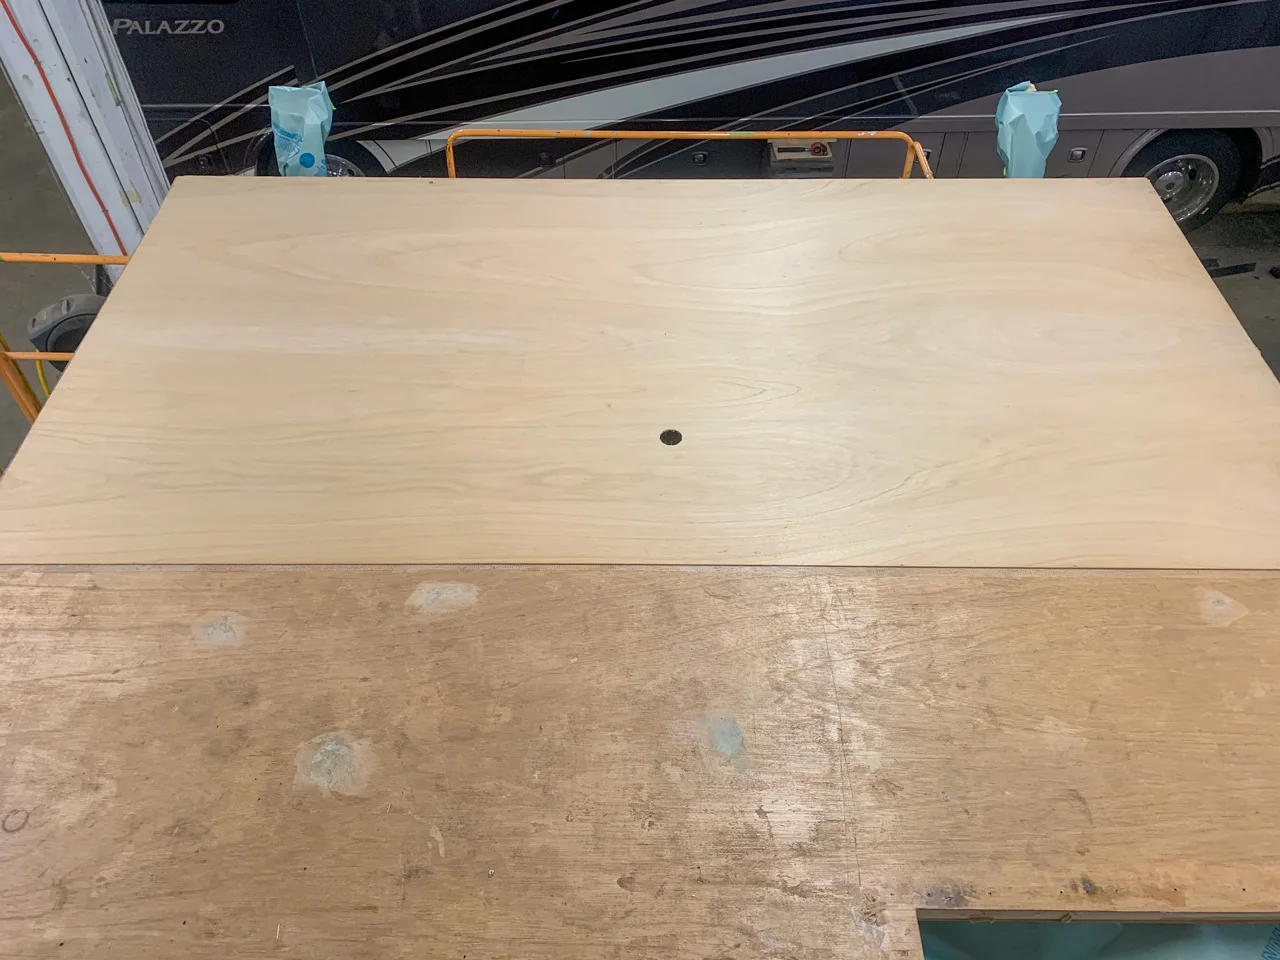
Depending on the extent of the damage, options for repairing it may include gluing a layer of 1/8-inch lauan over the existing wood.
Once the rubber is removed, the wood substrate can be examined for damage or rot. In some cases, the existing wood will be okay, and the new rubber can be applied over it. This is usually the case when the rubber membrane has sustained tears, rips, or similar damage.

With the wood taken care of, the new rubber can be rolled out onto the roof.
If the wood substrate is damaged or rotten, it will need to be replaced. Sometimes all the existing wood will have to be removed, and other times only certain sections will be affected.
Choices exist for substrate replacement. The first option is to glue ⅛-inch lauan directly over the existing wood. The other choice is to remove and then replace individual — or all — sheets of substrate. In any areas where wood replacement is needed, the edges and joints must be covered using drywall tape.
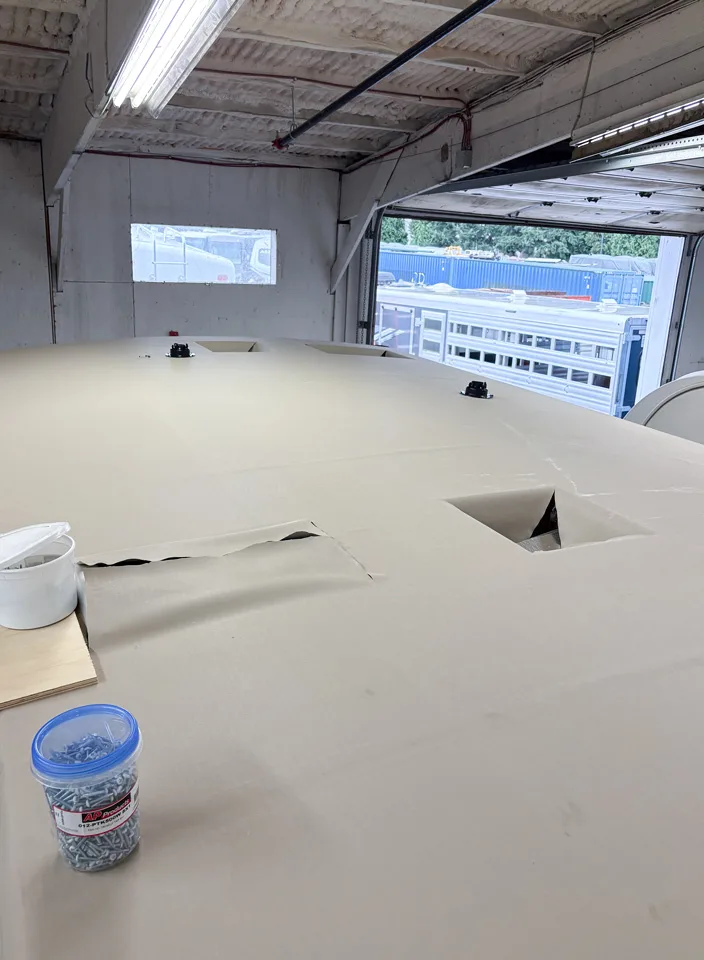
The membrane must be cut to match the holes in the substrate for the fixtures.
Once the wood has been replaced, the new membrane is installed and cut to match the holes in the substrate for the fixtures. After the rubber has been glued down and cut, the fixtures need to be reinstalled or replaced. Butyl putty is applied to the bottom of each fixture, and then self-leveling sealant is used liberally after the fixtures have been screwed down.
Finalizing the membrane install also includes dressing the edges, front, and rear. The edges usually fold over the sides of the roof and terminate under the drip rails. The rear generally terminates under a rear transition molding. The front may be done the same way, but it usually goes under the front cap, with the transition point covered by a molding. These details must be determined while surveying the original roof before starting the project.
Then, all items need to be reinstalled or replaced.
While this process may sound straightforward, it is time consuming, even for professional RV technicians. I’ve oversimplified the steps in this article for clarity. As mentioned, it is possible to do it yourself, and many people do, but be aware that it is one of the lengthiest, most exacting RV repair jobs.
As always, feel free to reach out to me directly with questions regarding this project, especially if you are considering performing the work yourself.
Send your troubleshooting questions to Steve Froese at techtalk@frva.com. The volume of correspondence may preclude personal replies. Not all responses will apply in every instance. Some situations may require a visual inspection and hands-on testing. If you choose to follow any procedures outlined in this column, first satisfy yourself that neither personal nor product safety will be jeopardized. If you feel uncomfortable about a procedure, stop and make an appointment with an RV service facility.
Recalls
Looking for the latest RV-related recall information? Visit familyrvingmag.com for a list of the most recent recalls issued by RV and component manufacturers. Or, to search for recalls, investigations, and complaints by vehicle year, make, model, and VIN, visit nhtsa.gov/recalls. NHTSA’s Vehicle Safety Hotline is (888) 327-4236.