
Most RVs come with traditional water heaters. With a little maintenance and understanding of how the tanks work, you can avoid trouble and keep yourself in hot water, all at the same time.
By Steve Froese, F276276
August 2021
At one point, the majority of RV water heaters were manufactured by either Atwood or Suburban. Since then, Atwood was acquired by Dometic, and Suburban became part of the Airxcel lineup. Tankless, on-demand hot water systems from Aqua-Hot, Girard, and Truma also have been added to the mix, making the world of RV water heaters more diverse — and more complex.

The RV water heater, and the entire propane system, should be serviced by a professional on an annual basis.
I’d like to provide some guidance on water heater maintenance, although I will not be covering tankless water heaters. I also will not be discussing water heater troubleshooting or repair. I have written articles about RV appliance troubleshooting in the past, and these articles, as well as many others, can be found online in the FMCA University.
It is a particularly good idea to service your water heater and all other propane-burning appliances, plus the entire propane system, on an annual basis. I recommend having your RV service center perform this task, but there are some things you can do yourself to give your appliances their best chance of a long life.
While on-demand, tankless water heating systems are becoming increasingly popular in RVs, most new units still come equipped with “tank” model water heaters, which are simple devices. They consist of a water tank, control system, safety devices, burner, heat exchanger, and possibly an electric element. Except in rare cases, water tanks found in RV’s today are manufactured by Dometic or Suburban.
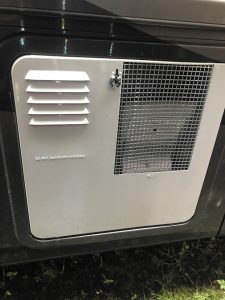
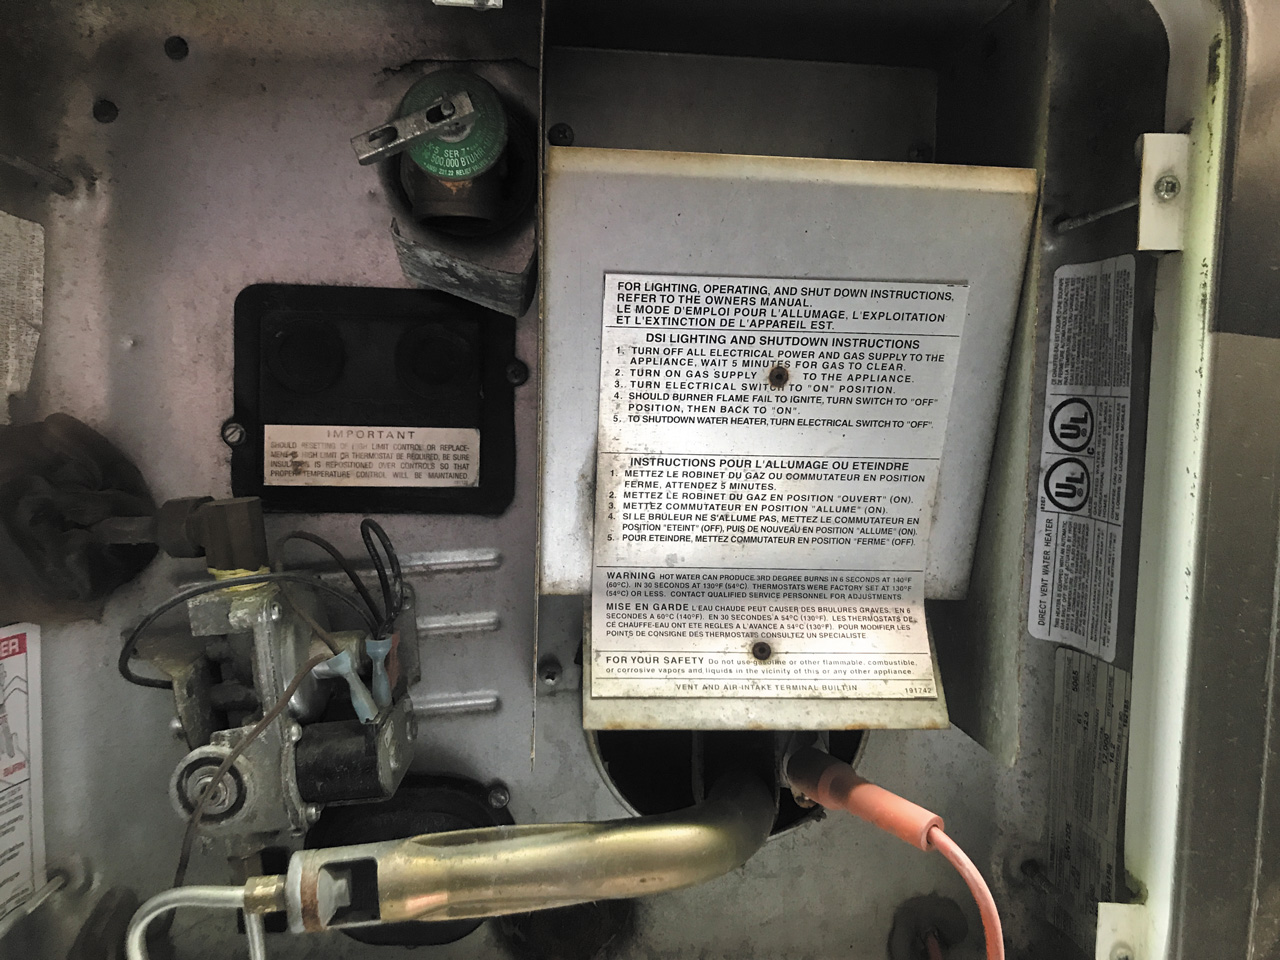
For owner maintenance tasks, such as cleaning and draining the unit, remove the exterior cover of the RV water heater to expose the components.
Dometic offers 6-, 9-, and 10-gallon sizes. Suburban provides 4-, 6-, 10-, 12-, and 16-gallon systems. Both companies have gas and gas/electric options, while Suburban also has a “motor-aid” offering that uses motorhome engine coolant to assist in heating the water. The principal operating method and main components are the same between these brands, so for the most part, maintenance is the same. The primary exception is the anode rod found in Suburban water tanks to help fight corrosion.
Hot water creates a corrosive environment for metal, and Dometic and Suburban treat this issue in different ways. Dometic utilizes a replaceable aluminum tank. Depending on the hardness and other chemical qualities of the water in your RV, the tank in a Dometic water heater eventually will corrode, resulting in leaks. If you notice water on the floor around the water heater, you should have the unit checked for leaks, regardless of the brand.
Conversely, Suburban utilizes a glass-coated steel tank, combined with a sacrificial anode rod. The anode rod is an aluminum or magnesium element designed so the water attacks and corrodes it instead of any exposed steel. While the glass coating protects the steel tank, it may crack over time, so it is very important to ensure the anode rod is intact. The rod is threaded into the drain hole at the bottom of the tank, and it should be inspected annually and replaced when it becomes 75 percent worn. Make sure to use PTFE (Teflon) tape around the threads when reinstalling the rod to prevent leaks around the drain hole.
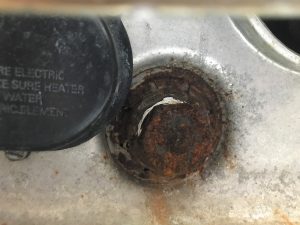
Suburban water heaters use a sacrificial anode rod that should be removed and checked for wear at least once a year.
For Dometic and Atwood water heaters, be sure to use a plastic drain plug. Installing a brass or steel plug will result in galvanic corrosion. Galvanic corrosion is the reaction that occurs between dissimilar metals, resulting in rust and deterioration. This will make removing the plug difficult or even impossible. So, resist the temptation to install a metal drain plug, including the ones with drain valves on them. Stick with the plastic drain plugs or you likely will regret it.
Flushing the hot water tank is another annual maintenance item. If your water heater has an electric option, be sure the switch is off before the tank is to be emptied. Tank flushing wands are available online or at RV parts stores. I recommend using one of these, as they thread onto a garden hose and have a thin tapered end that can be inserted directly into the water heater drain hole. A good time to flush the tank is when you are draining it for the winter, or while dewinterizing in the spring. Remove the drain plug or anode rod, stick the wand into the drain hole as far as you can, and turn on the water. Flush the water tank until only clean water runs out. If you observe rust or other concerning debris flowing out of the tank, have the system checked by a professional. Note that it is normal to observe small silica-like beads coming out.
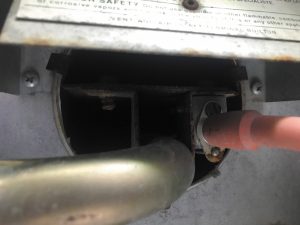
Using compressed or canned air, blow several bursts into the bottom of the heat exchanger tube to clear debris.
Next, blow out the heat exchanger. The heat exchanger is the large bore tube that starts at the bottom of the water heater after the burner and exits the top of the water heater behind the heat shield where the grille on the water heater cover is. Make sure the water heater is turned off, and then using compressed (or canned) air, stick the air nozzle just inside the lower tube, where the flame would be. Keep your face and body away from the exchanger tube, as debris is likely to fly out the top of the tube. It is a good idea to blow from the bottom to avoid debris flying into the burner tube or flame sensor. It should take only a short burst or two of air to clean the tube. While you are at it, blow around the rest of the water heater housing to eliminate any other debris, including insects.
Finally, turn on the water heater burner and observe the flame. If the tank is empty, keep this procedure very short. You should not be able to hear it from a distance with the cover on. The flame should be mainly blue with faint yellow tipping. If the flame is loud enough to be heard from more than 10 feet away, or the flame characteristics are not as described, have the system professionally serviced.
If you have technical questions or comments related to your RV or RVing in general, don’t hesitate to send an email to techtalk@fmca.com. Also, FMCA maintains extensive user forums covering many RV-related topics at https://community.fmca.com. It is worth searching these forums to see whether your issue has been previously discussed. If your question has not been answered, feel free to post your issue, and one of our readers may assist.