
More about RV air conditioner and heat pump maintenance.
By Steve Froese, F276276
December 2023
Last month, I discussed one of the primary causes of RV air conditioner failure: the start and/or run capacitors. This month, I will continue with rooftop A/C units and present a few other failure causes, as well as talk about some important maintenance tips.
Only attempt electrical repairs at the power box, or elsewhere, if you are comfortable doing so.
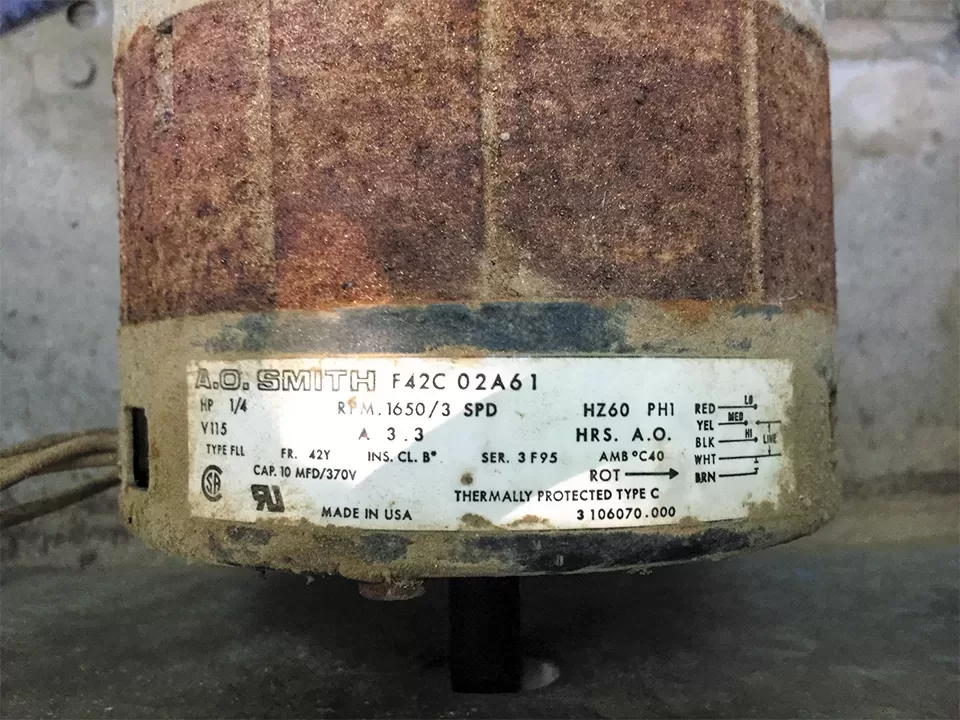
To recap the last article, if your air-conditioner blower motor and/or compressor fails to start or run, is sluggish while running, trips the circuit breaker, or experiences similar problems, one common cause is a bad start and/or run capacitor. I previously explained how to perform a basic test procedure and how to replace the capacitors. Given the relatively low cost of these capacitors, it is generally a good idea to replace them before performing additional troubleshooting, especially on older units. Just be sure to purchase the proper replacement.
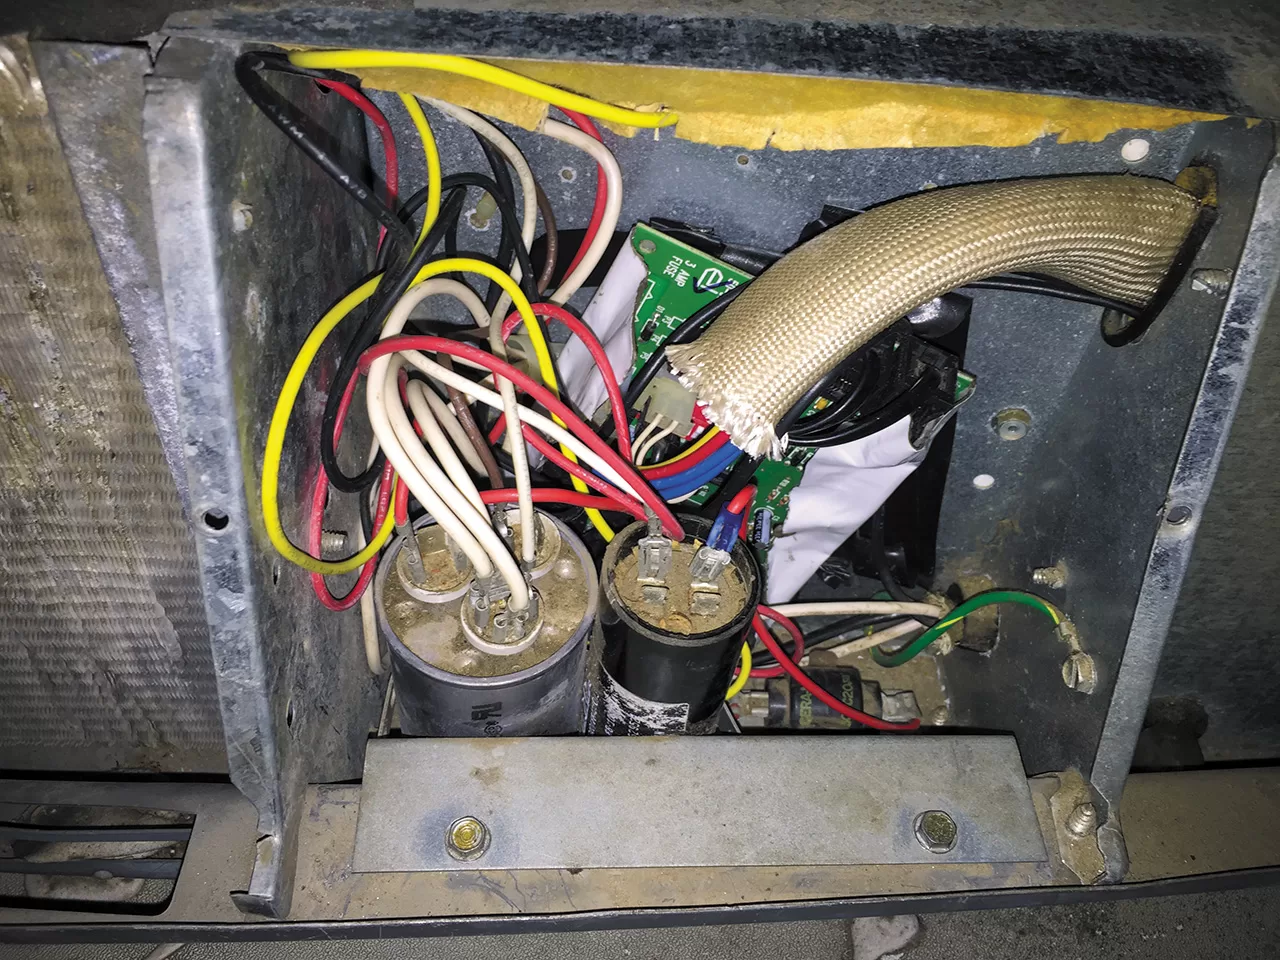
Some air conditioners utilize a positive temperature coefficient resistor (PTCR) in addition to — or in place of — the start capacitor. This is a small black cylinder usually located with the other capacitors and should be replaced along with them. There are, of course, other issues that can cause A/C failure, so let’s have a look at some of these. Ensure you have 120-volt-AC power going to the air-conditioning unit (unless I advise you to shut it off for troubleshooting purposes), and make sure the 12-volt DC is also live in the case of a ducted unit with a wall thermostat.
While you are working on the roof of the RV, it is helpful to have an assistant inside to control the wall thermostat for many of the troubleshooting steps. Also note that the steps described here are not difficult, but they do require you to mount the roof of your RV. If you are not comfortable with that, have someone else do it for you. Be extremely careful when working on an RV roof. Stay away from the edge as much as possible, and do not go up on the roof if it is wet or slippery.
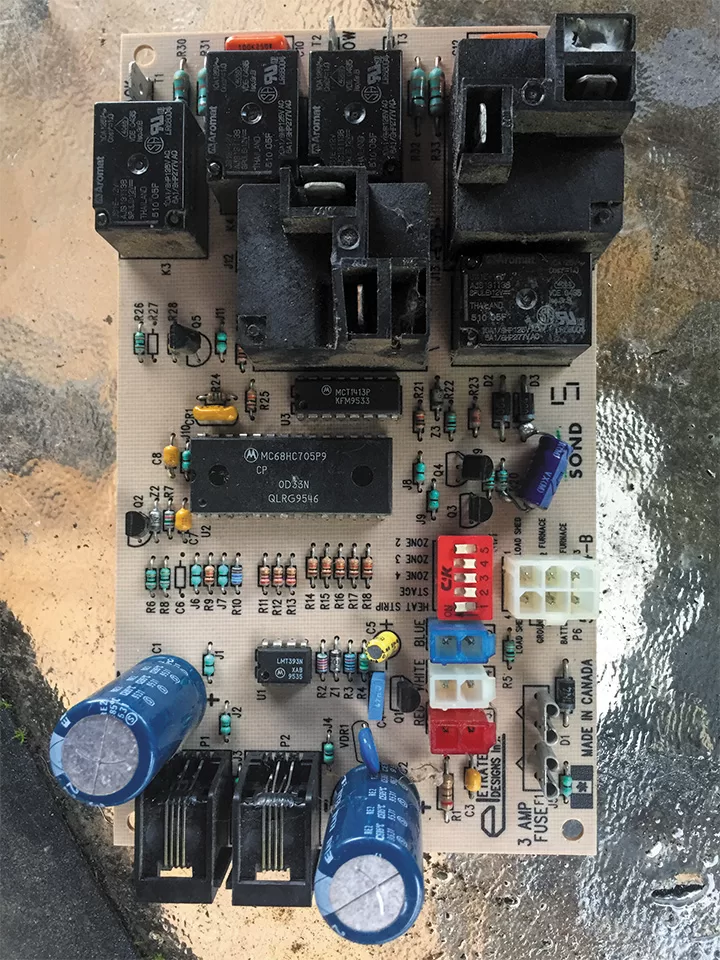
The control board acts as the brain of your air-conditioning unit.
Some failure modes falsely resemble capacitor malfunctions. If the blower motor fails to start, it may indicate a failure of the motor itself, but this is uncommon. The issue also could be a seized motor shaft. The motor shaft occasionally rusts enough to seize up in the support bearing. To verify this, remove the air conditioner cover and liberally apply spray lubricant to the shaft any place where the shaft goes through a support block or bearing. Have your assistant turn on the fan mode at the wall thermostat in the RV and check whether the blower now turns on. If so, you have effected a temporary fix, but eventually the blower motor will need to be replaced. Continued lubrication may be necessary in the meantime.
If the blower does not turn on, carefully spin the output shaft, keeping your fingers and hands as close to the motor as possible and away from the squirrel-cage fan; be ready to immediately remove your hand from the area if the blower starts. If it does, the same situation applies as mentioned above, and you eventually will have to replace the motor. You may continue to lubricate and spin the shaft in the meantime. Blower motors are not overly pricey, however, and the replacement is also not difficult.
If spinning the shaft does not start the blower, the motor likely has failed and will need to be replaced. A final determination can be made by using a multimeter to check for approximately 115 volts going into the blower motor with the thermostat set to “Fan.” This is most easily performed at the motor harness connector at the power box near the motor, but be extremely careful since these measurements must be made when the power is live and you do not want to risk electrocution. Do not attempt any electrical work if you are unsure.
If the compressor still will not start or run after the capacitors have been replaced, the issue could be a failed overload device or low cool-ant charge, or the compressor itself may have failed.
The overload device sits on top of the compressor and has two wires leading to it. To test this device, turn off the power to the air conditioner or unplug the RV. Then remove the plastic cover from the overload device and disconnect one of the wires. Make sure the compressor is at ambient temperature, and then use an ohmmeter to measure the resistance across the overload device terminals. If the resistance across the device is not equal to or near zero, the overload device must be replaced.
A low coolant charge means a leak exists. This usually can be identified by an oily deposit on the refrigerant tubing and/or the pan area of the A/C unit. It can be hard to locate, but a thorough inspection of the tubing and base of the air conditioner may yield the evidence.
A failed compressor or loss of refrigerant will require replacement of the entire air conditioner.
While there are many other ways for an air compressor to fail, another common one is evidenced if a heat pump blows hot air when you are calling for cooling. This is generally caused by a failure of the reversing valve. This device literally reverses the flow of refrigerant through the A/C unit so it draws cold air from the living space instead of hot air. In this mode, the evaporator becomes the condenser and vice versa. This could also be caused by low refrigerant.
Some heat pumps get stuck in “heating” mode because the reversing valve requires power to engage the cooling cycle. In other words, the reversing valve is in heating mode when no power is applied. The reversing valve implements an electromagnet-controlled solenoid to activate a spool inside the valve to reverse the flow of refrigerant. It is a fairly complex plumbing network that utilizes both electromagnetism and the pressure of the refrigerant itself to operate the valve. The malfunction could be caused by a failed magnetic coil; the control board not sending the voltage to activate the coil; a stuck solenoid; or damage to the small capillary tubes that help control the valve.
The reversing valve can be identified by a series of small capillary tubes and a solenoid coil with wires that lead to the control board, all connected to a junction of three refrigerant tubes. It will be located very close to the compressor. You can try sticking a relatively strong permanent magnet to the solenoid coil. If the coil has failed or is not getting power, the permanent magnet should pull the reversing valve to the cooling position. If you continue to get hot air blowing in the RV, the reversing valve has failed, and the air-conditioning unit will require replacement.
If the magnet causes cold air to blow into the RV, carefully measure the AC voltage at the control board terminals that lead to the solenoid coil when the thermostat is calling for cooling. If you have roughly 115 volts AC there, the coil may have failed and you can easily re-place it — just be sure to purchase the correct coil, which is a very common coil on air conditioners. If there is no power at the board, the board has likely failed, and you can replace it. These repair procedures are outside the scope of this article.
In addition to addressing the most common failure modes for rooftop air conditioners and heat pumps, it’s important to discuss maintenance steps as well. Always keep the intake filters clean. These can be washed in warm water with dish soap, rinsed, wrung out, and left to dry. These filters can be found behind an access panel on the ceiling plenum or on the intake louvers in the ceiling ducts. They should be cleaned seasonally to prevent airflow issues or damage to the A/C unit.
In addition, you should occasionally inspect the condenser fins on the rooftop unit for damage or debris. Fin combs that are used to straighten bent fins can be purchased online. Damaged condenser fins restrict airflow and reduce cooling efficiency.
While there are other causes of air conditioner and heat pump failure, I have covered the main ones here. These complex appliances can run for a long time when properly maintained, and some of the most common failure modes can be easily repaired by most DIYers.
Send your troubleshooting questions to Steve Froese at techtalk@fmca.com. The volume of correspondence may preclude personal replies. Not all responses will apply in every instance. Some situations may require a visual inspection and hands-on testing. If you choose to follow any procedures outlined in this column, first satisfy yourself that neither personal nor product safety will be jeopardized. If you feel uncomfortable about a procedure, stop and make an appointment with an RV service facility.
You may also want to consult the FMCA Forums (https://community.fmca.com) to see whether your question has already been addressed or, if not, to post it.