
Getting Your Bearings
First in a series of columns about two important maintenance procedures for travel trailer owners that help to ensure safe RVing.
By Steve Froese, F276276
Continuing with the topic of RV maintenance — arguably the most important subject of all for this column — I plan to cover a procedure specific to travel trailer owners. Fundamental maintenance items for travel trailers and fifth wheels include repacking the bearings and servicing the brakes. These processes generally are performed together, since both involve removing the wheels, and should be done every RV season.
Failure to perform these procedures regularly can result in bearing and wheel failure, brake failure, and other dangerous conditions. Many RV service centers offer spring or early-summer specials that include bearing repack and brake services, so I recommend asking your chosen facility about this. Alternately, you can perform the procedure yourself if you have some basic tools and equipment. I rate this procedure at a difficulty level of 3 out of 5.

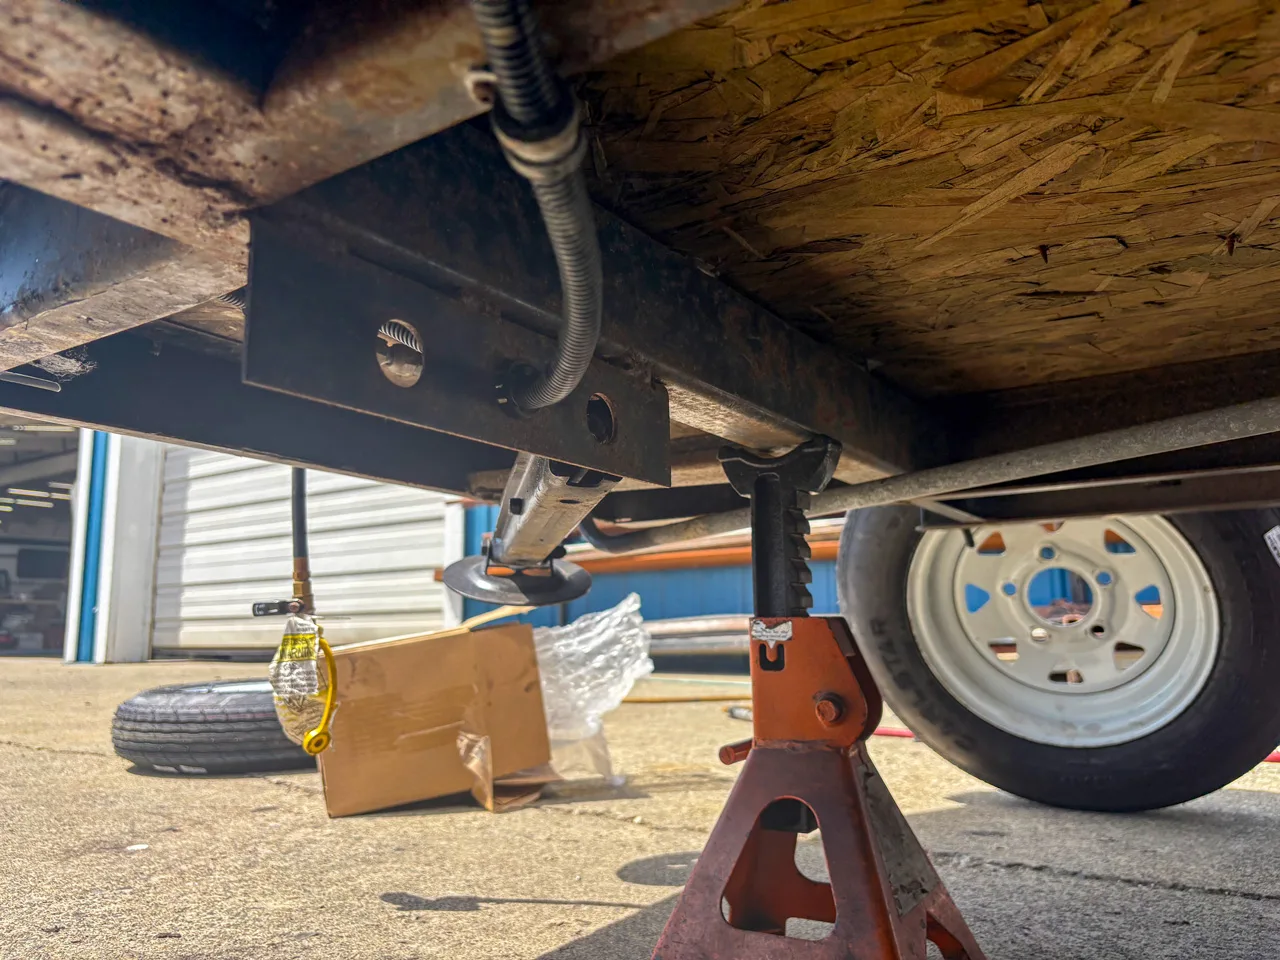
After jacking up the trailer and properly supporting it, take off the wheels.
I plan to split these procedures into separate columns, with this first entry covering preparation, the next installment addressing bearing repacks, and the third discussing brake service.
Unlike automotive brakes, which are hydraulic, RV trailer brakes are almost always electric. Smaller towables, such as some boat trailers and car tow dollies, use surge brakes, and some older units may even have electric-over-hydraulic brakes. The latter type is out of scope for this article. In the case of surge brakes, the procedure is largely the same as the following, except that the brake drums and backing plates on surge brakes lack magnets.
The tools and equipment generally required for bearing repacks and brake service include a jack capable of lifting the trailer; jack stands; and basic mechanics tools such as tongue-and-groove pliers and a brake adjustment spoon. Other tools may be required and will be identified in these articles. A bearing packer and a parts-washing tank also are recommended.

Taking off the wheels exposes the bearing caps; remove them to uncover the bearings.
A few comments before we delve into this series of articles: While the procedures themselves are quite straightforward and, as noted, I will mention any special tools and parts required, it is also important to point out that you need enough DIY experience to be able to identify damaged and worn components. I will, however, offer guidance in terms of what to look for in that regard.
The first step is to jack up the trailer so the wheels are off the ground; then support the unit on jack stands. Several ways to do this exist. One is to lower the tongue jack all the way, so the ball receiver is sitting on or close to the ground. Then you can place jack stands under the rear of the trailer (one on each side), raising them high enough to allow only a slight gap between the stands and the trailer frame. Safety is paramount with this step. First, make sure the jack stands are placed only under the main I-beam frame members, and be sure not to pinch any water or propane lines.
Once the jack stands are under the frame, you can extend the tongue jack again until the trailer is supported by the jack stands. If you raise it high enough, the wheels should lift off the ground. If you can’t get the unit high enough, you can use a long-beam ratchet jack such as a Jackall or Hi-Lift, or other jack, to raise the tongue more, and then you can put blocks under the tongue jack.
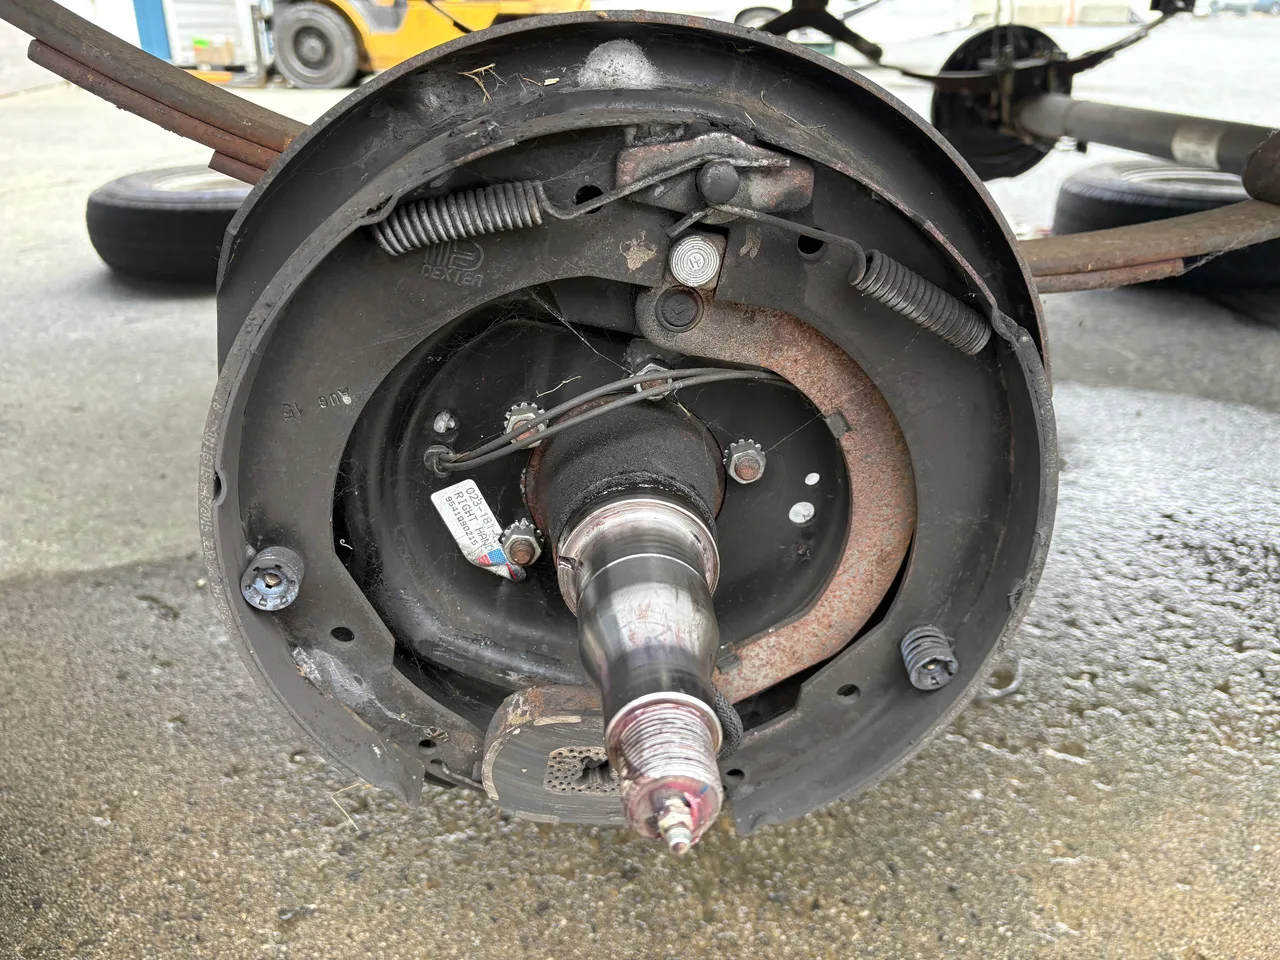
To pull off the brake drum, find the front nut; remove the cotter pin or spring; and take off the nut.
If this method does not work for you, you may have to jack up each wheel separately and then use the jack stands to block up the unit. DO NOT perform these procedures, or any procedure that involves lifting the trailer — especially if you must go under the unit — without placing jack stands securely and safely under the RV. This is very important. DO NOT work on any trailer that is not safely jacked up and supported. Also, be very careful not to damage or pinch any components on or near the frame of the trailer. Jack up and support the trailer ONLY on the frame components, not on the bumper, jacks, or any other com- ponent. DO NOT use stabilizing or even leveling jacks to support the unit while it is being worked on.
DO NOT jack up the trailer using the axle, as you can easily bend the axle; it is permissible, however, to jack up the wheel at the very outside of the axle (directly behind the wheel).
Once your trailer is safely in the air, you are ready to start the procedure. It is a good idea to test the brakes at this point. The easiest way to do this, assuming the trailer battery is charged, is to simply pull the emergency breakaway cable. Then spin each tire to make sure it locks up. If it doesn’t, you’ll want to read the upcoming brake service article for additional information. Don’t forget to put the emergency breakaway key back in.
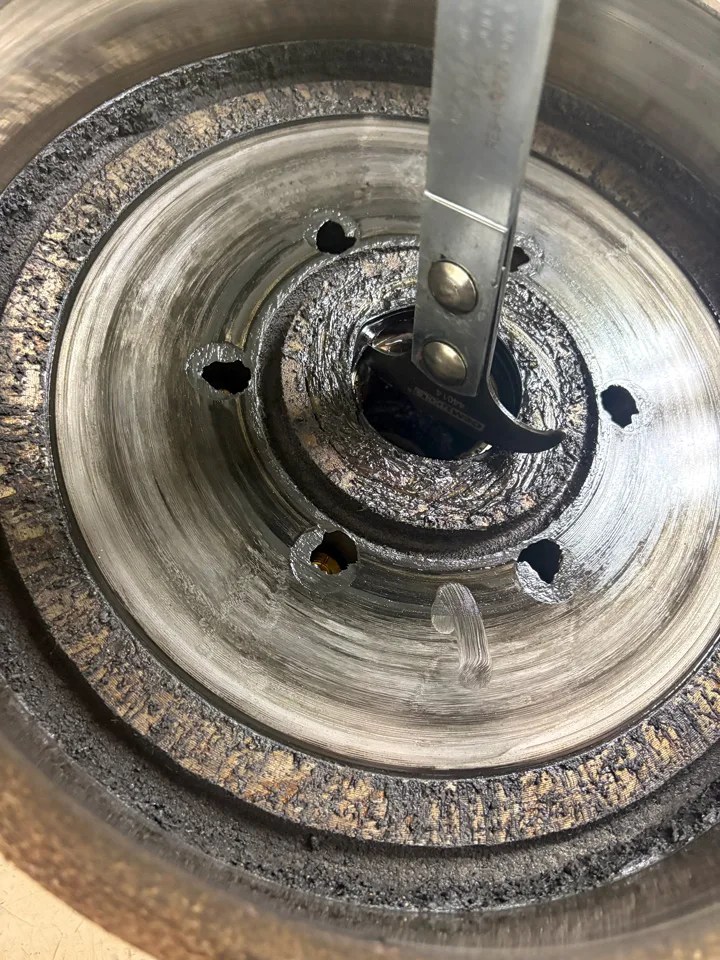
After the brake drums have been removed and the outer bearings, nuts, and washers have been sorted, use a seal puller to remove the wheel seals from the drum.
Next, take off the wheels. This is a simple matter of removing the lug nuts and setting the wheels aside. This should expose the bearing caps, which also should be removed at this time. Use a rubber mallet to hit the side of the cap to see whether it comes loose. If it does not after several hits, you should be able to use a small, flat screwdriver and hammer to drive the cap out. Put the screwdriver between the cap and the drum and hit. Don’t hit too hard or you could damage the cap. After you get separation, use the screwdriver to pry off the cap as you spin the drum.
Once the bearing caps are off, you need to create a board or a box that’s separated into two or four sections (depending on how many axles the trailer has), because you must ensure that the bearings and drums go back to the same wheel position they came off. You will want to differentiate left and right, as well as front and rear. I usually place them on a board, labeled “RF,” “RR,” “LF,” and “LR,” but if you can make a box divided into sections, that is even better.
Behind the bearing cap, you will see a front nut secured by either a cotter pin or a spring plate. If it is a cotter pin, you can straighten it out using side cutters, and then pull the cotter pin out, also using the side cutters. Make sure you have new cotter pins, which generally should be ⅛-inch by 1½ inches long or so. If a spring plate is present instead, you can pry it off using a screwdriver.
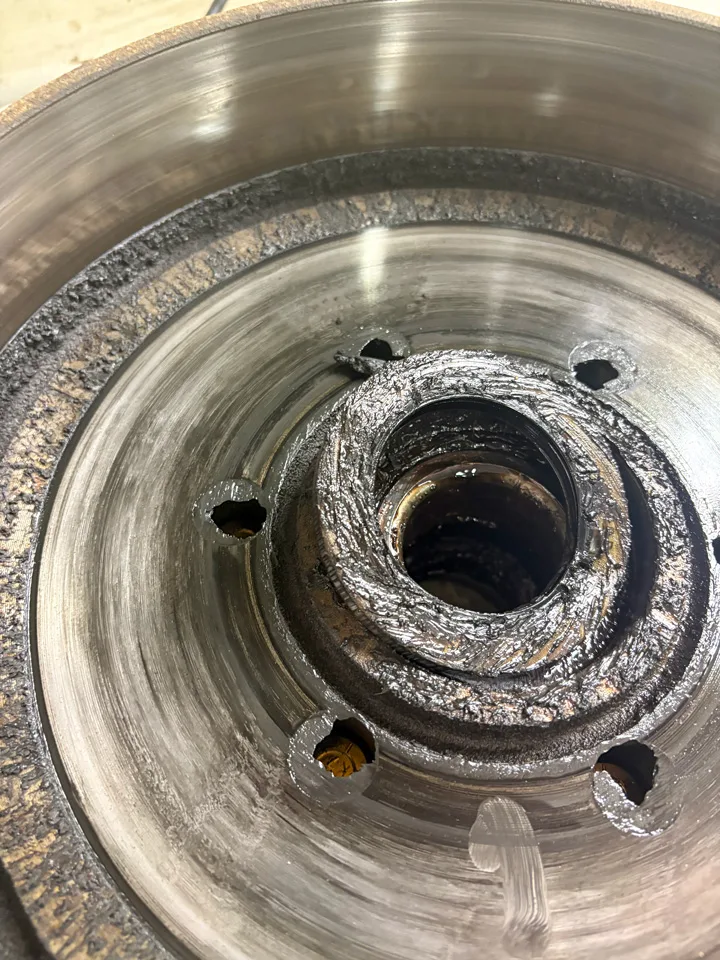
The seals, which look like washers, secure the inner bearings inside the drums.
Once the cotter pin or spring is off, you can remove the nut. It likely will be hand-tight, but if not, you can use tongue-and-groove pliers to remove it. Once that is done, pull firmly on the brake drum to remove the drum, outer bearing, and washer. Place the components in the appropriate position on the board or in the box. Be sure to label the outside of the brake drum as well. Repeat this procedure for all wheels.
At this point, you should have all your brake drums removed and the outer bearings, nuts, and washers separated and identified for each wheel position. Cleaning and inspecting the brake components will be covered in the brake service article.
The final step of this phase of the procedure is to use a seal puller to remove the wheel seals from the drum. This tool can be obtained very inexpensively from an auto-parts store. The wheel seals, which look like washers, hold the inner bearings in place inside the drums. Usually, the seals come out quite easily with a few tugs of the bearing puller. Remove the inner bearings and place them with the other separated parts.
The November/December column will discuss how to clean and repack the bearings and reassemble the drums onto the backing plate assemblies, which are just behind the spindle, as well as the brake shoes, magnets, and related components.
Send your troubleshooting questions to Steve Froese at techtalk@frva.com. The volume of correspondence may preclude personal replies. Not all responses will apply in every instance. Some situations may require a visual inspection and hands-on testing. If you choose to follow any procedures outlined in this column, first satisfy yourself that neither personal nor product safety will be jeopardized. If you feel uncomfortable about a procedure, stop and make an appointment with an RV service facility.
RV Recalls
Looking for the latest RV-related recall information? Visit FRVA.com for a list of the most recent recalls issued by RV and component manufacturers. Or, to search for recalls, investigations, and complaints by vehicle year, make, model, and VIN, visit nhtsa.gov/recalls. NHTSA’s Vehicle Safety Hotline is (888) 327-4236.