
Tips for installing a solar panel or array on a recreational vehicle.
By Steve Froese, F276276
March-April 2025
Having a solar system on your RV is a good way to replenish 12-volt energy, especially if you are camping off-grid. Most current RVs either have factory-installed solar panels or incorporate prewiring. However, adding a solar panel or array (more than one panel) to a recreational vehicle that is not prewired is generally not difficult. In this article, I will discuss the basic steps necessary. I rate the level of difficulty for this procedure as a three out of five.
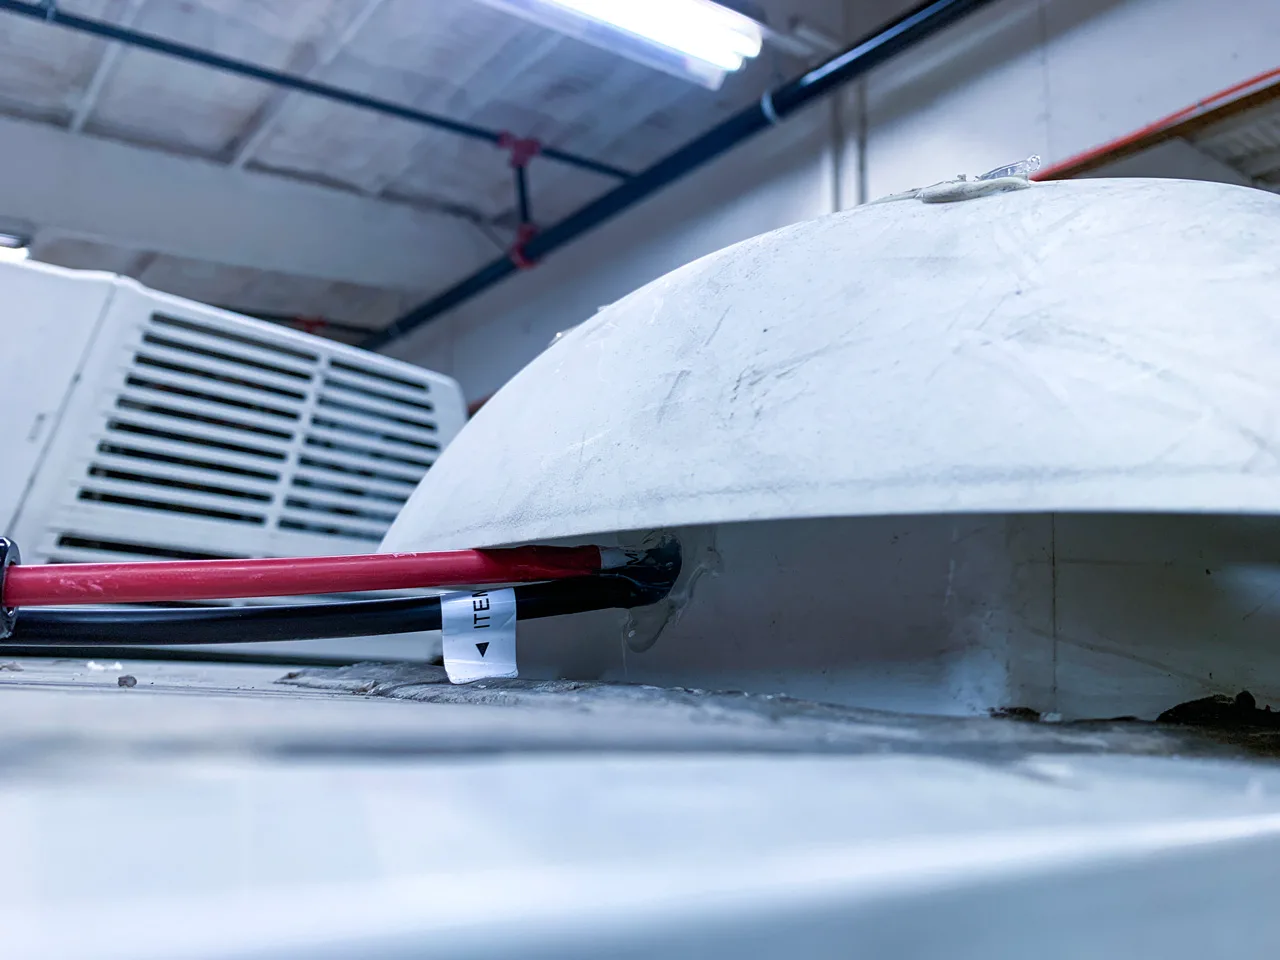
If your RV has a rooftop fridge vent, solar wiring can be routed through it to the house batteries.
Since this process involves mounting the roof of your RV, exercise extreme caution! If you are not comfortable climbing ladders or going on the roof, please seek assistance. Stay as far away from the roof edge as possible and watch your footing at all times. While installation of a solar panel is not difficult, you will want to have it professionally done if you are not comfortable on the roof or if it is not safe for you to be up there.
In terms of acquiring a solar panel kit, it is important not to buy one of the cheap systems. Be especially cautious if you are purchasing online. This article will not cover the different types of solar panel construction, but it is important to ensure that the panel you are buying incorporates tempered glass.
It is also outside the scope of this article to discuss MPPT (maximum power point tracking) versus PWM (pulse width modulation) controllers. Suffice it to say that PWM controllers are less expensive and will be included with most solar panel kits. I will discuss PWM versus MPPT in the next issue.
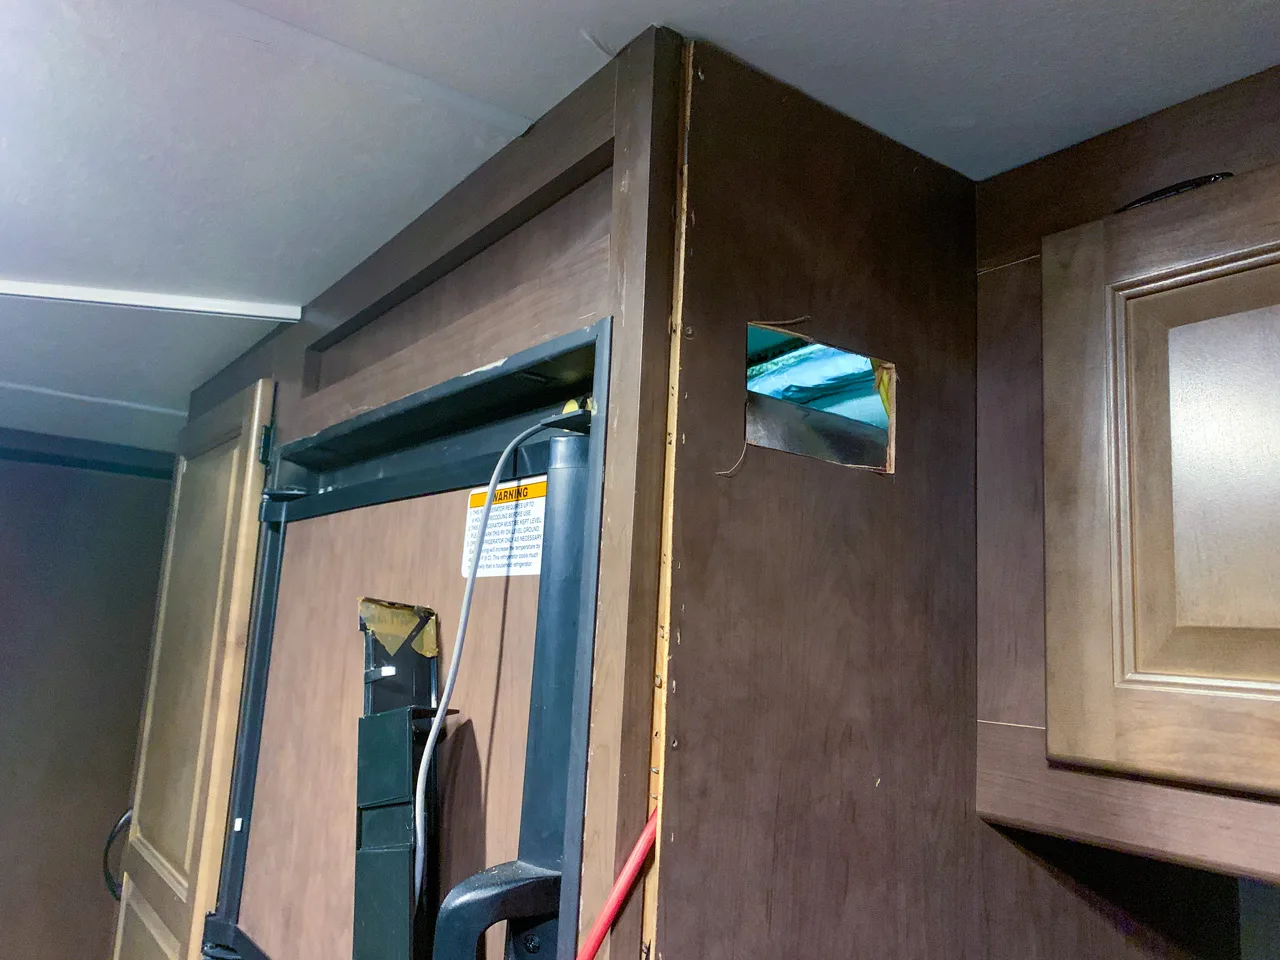
The refrigerator cabinet inside the RV may be a good place to mount the solar controller.
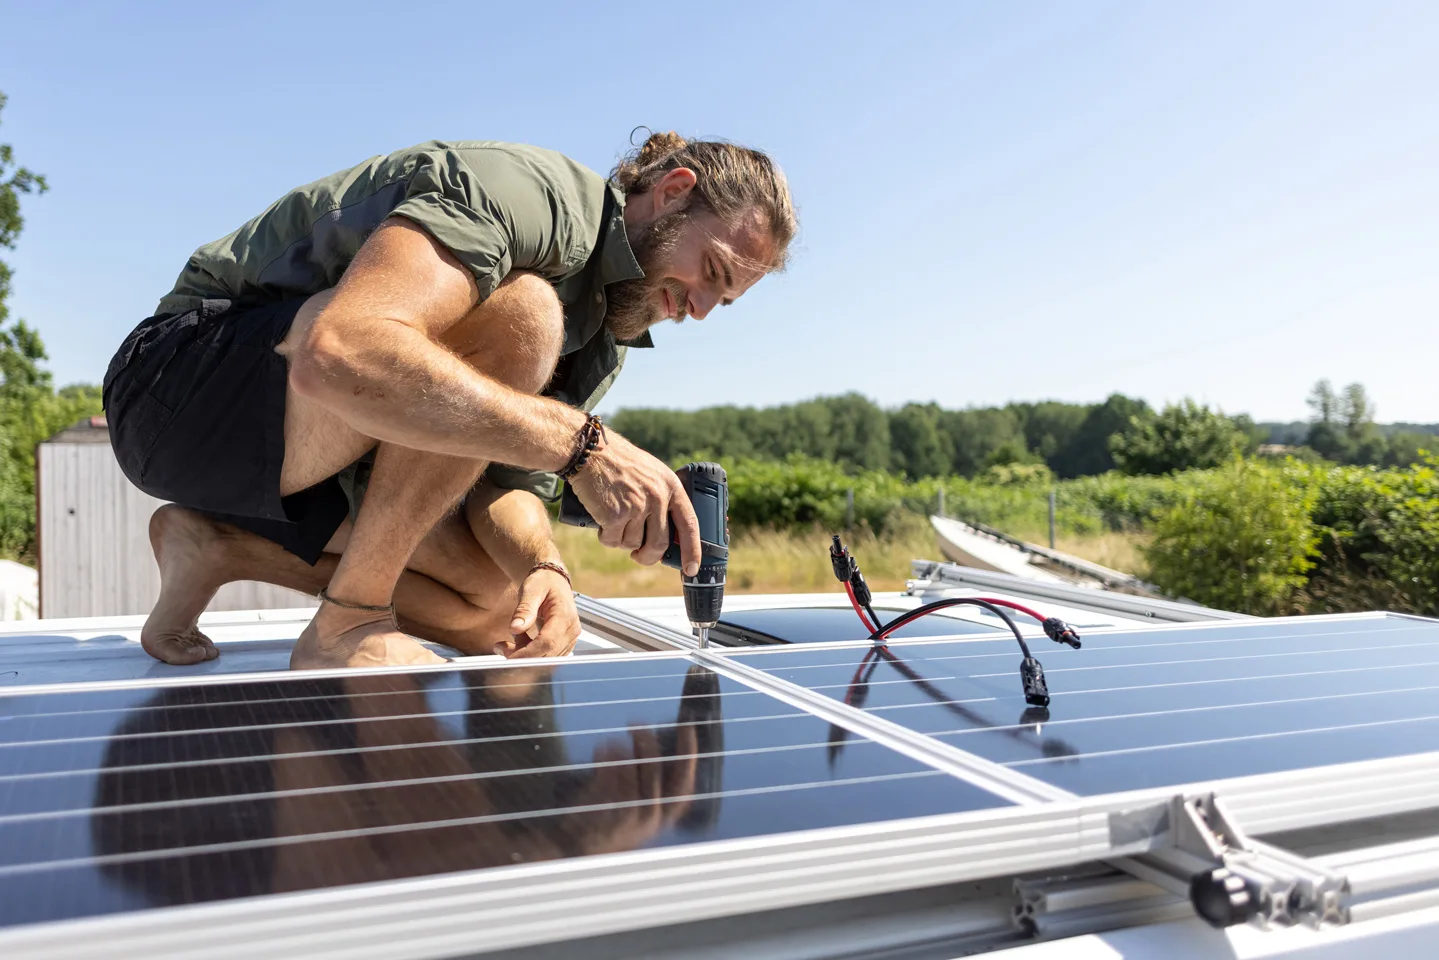
As with many RV upgrade procedures, the first step is to plan the installation. Survey the RV roof to determine the best mounting location for the panel(s). Ensure each panel has adequate clearance from other objects on the roof. Flexible panels are also available if you have very limited roof space. Even though flexible panels offer more mounting options, they do not work as well as rigid panels.
Once you have determined the mounting location(s) for each panel, and after you have installed the mounting brackets on the panel(s), spread some self-leveling sealant at each mounting bracket location on the roof. Then, using the manufacturer’s supplied hardware, secure the panel(s) to the roof. Liberally apply the self-leveling sealant over every bracket and screw, being sure to fully cover each one.
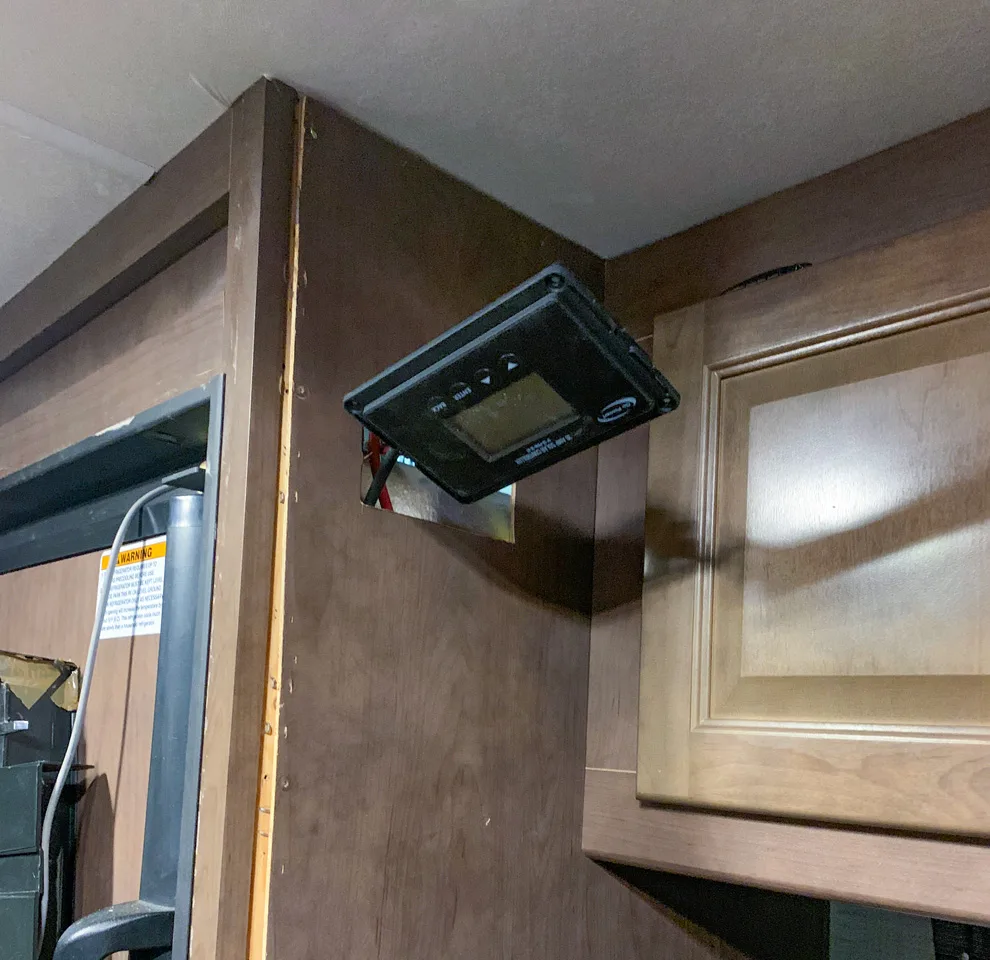
Allow some slack in the wiring for the controller to be removed from the wall.
Assuming your RV was not factory-wired for solar, the next step is to select a controller location and route the wiring down to that spot. The controller can be mounted inside the RV at a place convenient for viewing the display. The side of the refrigerator cabinet paneling is one popular option, as the wiring is usually routed down beside the fridge.
If your RV has a refrigerator vent on the roof, this is the recommended place to route your solar panel wires down to the coach batteries. If your fridge is in a slideout, or you have a residential fridge in your RV, you will have to determine another way to get the solar wires down to the controller, and then to the battery. For this article, I will assume you have a fridge roof vent.
Remove the cover for the rooftop fridge vent by taking out the four screws that secure the cover to the base. You will likely have to dig through sealant to accomplish this. Then drill a ½-inch hole (or whatever size is specified in the installation instructions) in the side of the fridge vent. Place the cardboard shipping box that the solar panel came in over the solar panel(s) to prevent current from flowing through the wires during installation. Connect the wiring harnesses to the solar panel, then pass the wires through the hole you just drilled and down onto the top of the fridge. Do not make the wires taut; leave slack between the fridge vent and panel. Exit the roof and go inside the RV.
Back on the roof, apply sealant to secure the wires between the solar panel and the fridge vent.
If you are able to carefully remove the refrigerator cabinet paneling, this is the easiest way to install the solar controller. Otherwise, you may have to pull the fridge out enough to access the inside of the cabinet. The paneling is stapled to the cabi-net framing, so it usually can be carefully popped off. However, if the paneling is bound by cabinetry or furniture, this may not be easy. You can often pull the paneling away just enough to run the wiring and install the controller. Pulling the fridge out requires removing gas and electrical lines, so this would require professional assistance; that process is outside the scope of this article.
I recommend installing the controller quite high on the fridge panel wall. The solar kit should include a cutting template for the controller. Use the template to cut the hole in the paneling. The paneling is quite thin, so a utility knife will work for this.
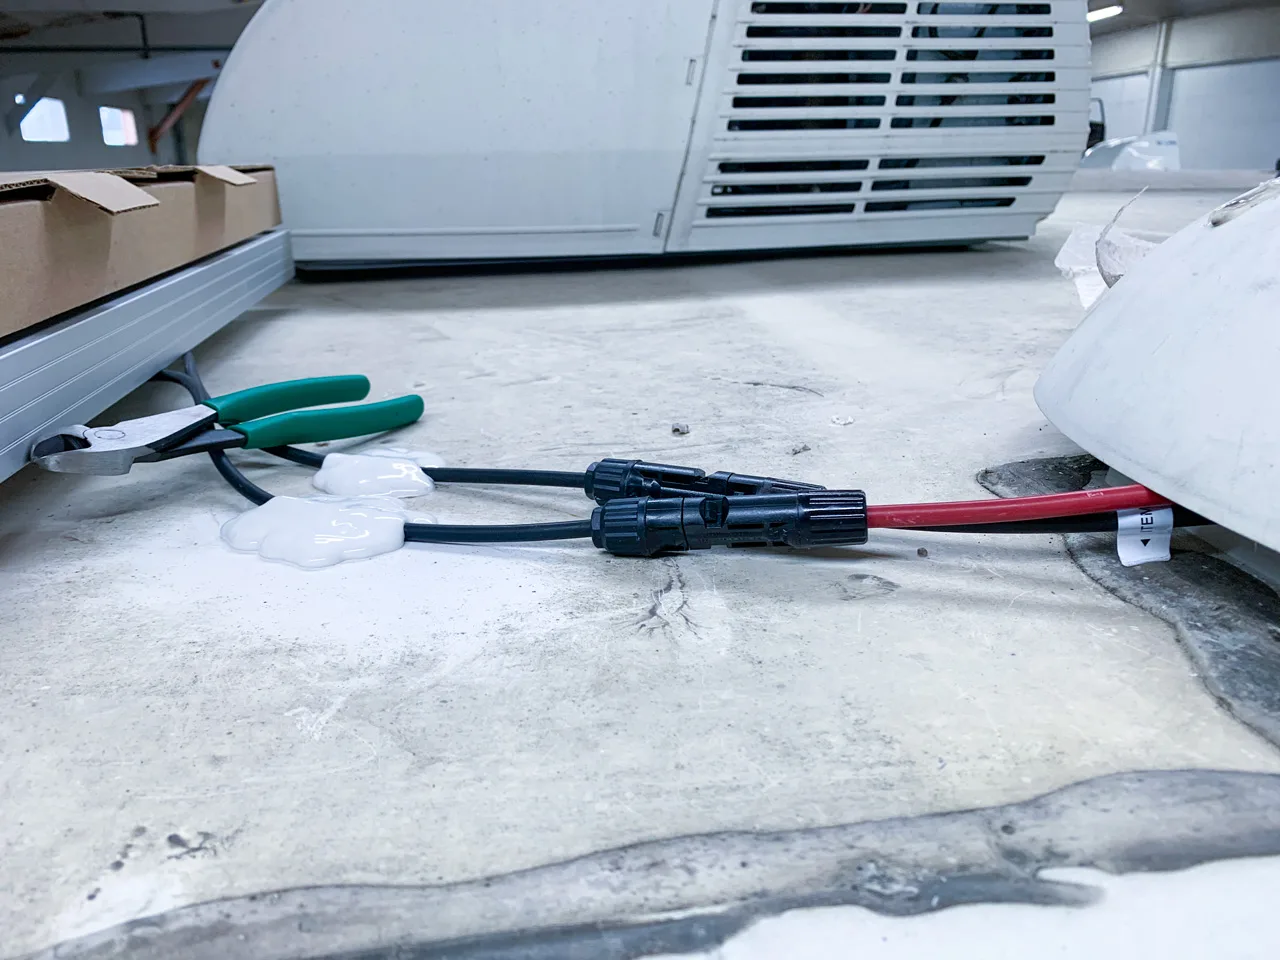
Cut the solar panel wiring to a length that allows for some slack to the controller when it is removed from the wall. Strip the wires and connect the wires from the panel to the controller according to the installation instructions. Be sure to connect the panel wires to the proper terminals on the controller.
Once you have cut the wires and connected the solar panel to the controller, the extra wire will be routed from the controller to the house battery. There are some options for achieving this. The first is simply to route the wires to the fridge power wires; although this is often done, it is not the optimal configuration, because of potential ampacity issues with the fridge wiring. Another option would be to route the wires from the solar controller to the power converter, which may be easier than routing the wires all the way to the battery. Running them directly to the batteries is the best option but may be difficult.
Once you identify the connection points, cut the wires to length, strip them, and crimp whatever connectors you require. If you opt to run the wires to the power converter, simply connect the negative wire to the negative buss terminal, which will have several white wires attached to a grounding terminal strip. Connect the positive wire to the positive lug on the converter battery terminal. You will note another wire connected there that runs directly to the house battery. There may also be a circuit breaker that you can connect it to, but in that case, be sure to connect the controller wire to the battery side of the circuit breaker. Connect the in-line fuse to the positive wire; secure the solar controller to the panel; and replace the panel by restapling it to the cabinet framing. You may choose to cover the staples with seam tape or putty.
Back on the roof, remove the cardboard you used to cover the solar panel; apply some sealant to the wires between the fridge cover and the panel to hold the wires down; and replace the fridge vent cover.
Go back inside the RV and observe the solar controller for proper operation according to the owners manual. The display should show current, voltage, and battery state-of-charge, depending on the setting.
As noted, in the next issue, I will discuss PWM versus MPPT solar controllers. I also will touch on solar array wiring options.
Send your troubleshooting questions to Steve Froese at techtalk@fmca.com. The volume of correspondence may preclude personal replies. Not all responses will apply in every instance. Some situations may require a visual inspection and hands-on testing. If you choose to follow any procedures outlined in this column, first satisfy yourself that neither personal nor product safety will be jeopardized. If you feel uncomfortable about a procedure, stop and make an appointment with an RV service facility.
You may also want to consult the Family RV Association Forums (https://community.fmca.com) to see whether your question has already been addressed or, if not, to post it.
Recalls
Looking for the latest RV-related recall information? Visit FamilyRVingmag.com for a list of the most recent recalls issued by RV and component manufacturers. Or, to search for recalls, investigations, and complaints by vehicle year, make, model, and VIN, visit nhtsa.gov/recalls. NHTSA’s Vehicle Safety Hotline is (888) 327-4236.