
By Gary Bunzer
November 2019
Vintage Air Conditioner
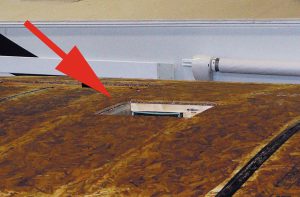
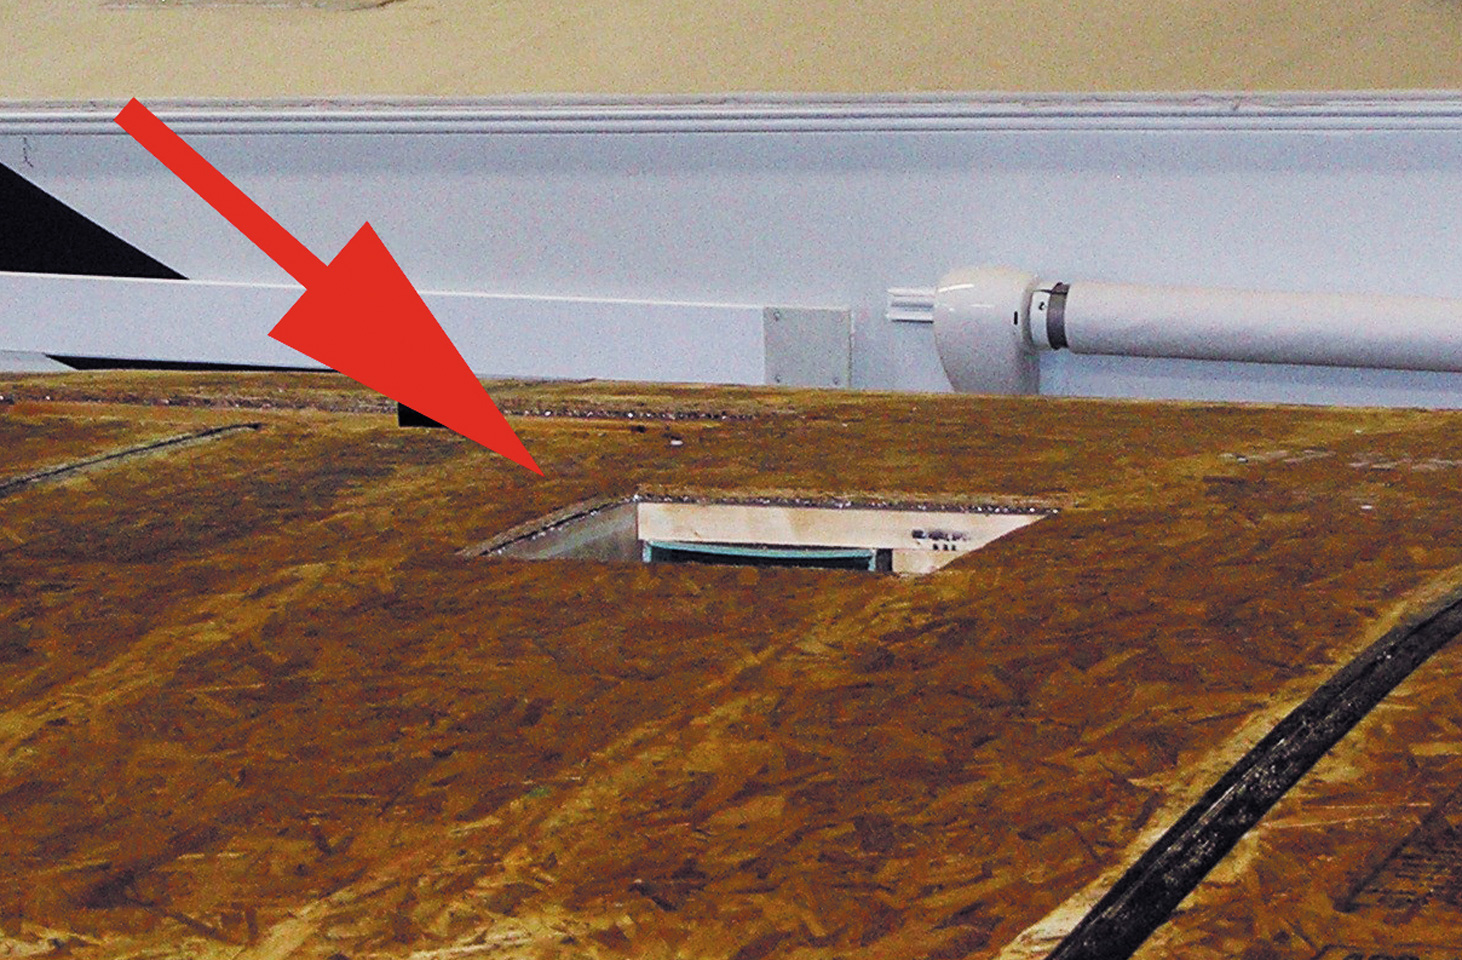
All roof air conditioners are mounted over a 14-inch-square hole.
We have a 1989 Pace Arrow motorhome, which we have lived in for 19 years. It has Coleman air conditioners in the front and rear. We want to replace the original front air conditioner, which does not run, but we cannot find a serial number. Is there a newer model that will fit in the same ceiling configuration? If not, where can we find the model we currently have?
Also, about four years ago a huge tree fell on top of our RV. The roof still has a hole in it, but my husband covered it with a heavy tarp, so it does not leak. I’m sure this has weakened the roof somewhat. The hole is on the passenger side of the RV, approximately 3 to 4 feet behind the passenger chair, and 4 to 6 feet from the rooftop air conditioner. Will that be a problem when we install a new air conditioner?
CC
Via email
I love hearing about these older RVs still being used! My first series of RV owner videos featured a 1989 Pace Arrow in the opening sequence. But on to your questions. All roof-mounted RV air conditioners sit on a square hole in the roof, 14 inches by 14 inches. The brand of air conditioner makes no difference. I actually recommend that both rooftop units be replaced at the same time. It might only be a matter of time before the one in the rear develops a problem.
Back in the day, it was feasible to repair and recharge rooftop units, but with today’s higher shop labor rates, it’s often more economical to replace the complete unit than to pay the hourly cost of a repair/recharge. It should take less than an hour to swap out both air conditioners, plus you’ll have a new warranty on both, and, more importantly, peace of mind since you are full-timers. You’ll likely get a nice discount if you buy two units at the same time from a worthy repair facility.
As for the hole in the roof, as long as no rafters were damaged (in other words, the branch fell in between the main structural members), and only the roof and perhaps the ceiling were penetrated, a simple patch job should suffice. It wouldn’t have weakened the roof, nor would it jeopardize the replacement of that nearby air conditioner. Just be sure the repaired section is sealed properly. I recommend forcing insulation of some type into the ceiling void, securing a metal patch to the roof opening, and sealing it with EternaBond tape. Any appropriate, aesthetically pleasing patch can be affixed to the ceiling inside.
Video Questioning
I watched your video on checking for leaks in the fresh-water system. It’s an excellent video, but I’m somewhat confused about blowing out the water lines with air. As I understood it, the recommendation was to keep the pressure at no more than approximately 30 psi. How, then, can the system handle 80 psi when one is checking for a leak? Also, should the test for a leak be done with or without water in the lines?
John Masias
Via email
The RV fresh-water plumbing system, according to the NFPA 1192 Standard for Recreational Vehicles, is tested at the factory at a pressure between 80 to 100 psi using air or water. It’s perfectly safe to perform the fresh-water leak test at 80 psi, especially with the thicker wall found on PEX tubing today. Also, you do not have to remove any water from the system to run this leak test. Just make sure the system pressure has been depleted before attaching the test gauge. As long as you stay at 80 psi or less, there’s no need to disconnect the water heater or other fixtures.
What is important is the test fitting with an extrusion that keeps the city water inlet check valve open during the test. I’ve witnessed many technicians using a common hose fitting without that extrusion on it, which invalidates the test.
By the way, for other readers, the video John mentioned can be viewed here: www.youtube.com/watch?v=kgddsh_d8AU.
No 12-Volt-DC Power In Slideout
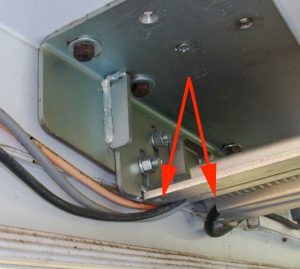
Chafing may occur at certain pinch points under a slideout.
I do not have 12-volt-DC power to my kitchen slideout. I have no refrigerator and no lights. I’ve checked the fuses. Everything else has power, including 120 volts AC. I am connected to shore power with a 50-amp plug. I really don’t know where to start.
Mike James
Via email
If the loss of 12-volt-DC power is limited to that one slideout, I immediately would suspect the fuse for that specific circuit. A fuse that “looks” good may still be faulty unless you can actually measure voltage on both ends of the fuse while in place, or measure continuity through the fuse when it’s removed from the fuse holder.
If the fuse proves to be viable, then I would look closely at how the power is connected to that slide. Some manufacturers use a short, flexible (rubber-like) cable to bridge the distance that the slide moves in and out. In some cases, the conductors might not be protected sufficiently, and therefore they are prone to chafing, rubbing, or insulation wear. It’s possible there’s a break in that harness. It’s also feasible the positive and negative conductors are attached to a simple plug that may have oxidized or come loose through the movement.
If the cables and conductors are well protected, a break still can develop simply from movement fatigue. A continuity tester (or digital multimeter, set to ohms) can verify where the break may be located along the length of the exposed conductor. All cables and connections are likely hidden or perhaps hanging down under the slide itself. In many cases, the hardest part is actually locating the wires.
First, with the digital multimeter (DMM) set to DC voltage, locate the conductors leading to the slideout, but still on the main portion of the coach. If no voltage is present, then it’s safe to use the DMM set to ohms for continuity tests. Also check the negative conductor carefully. An open circuit easily can originate on the negative, ground side of a DC circuit. In a worst-case scenario, a new positive and negative conductor can be routed, and each end of the original conductors can be cut off. This is a common fix if the wires are hidden in walls or floors. Simply cut off the original at each end and run a new set of conductors.
Pondering Deflation
I have a Winnebago Tour motorhome. After a trip, the right front air bag was down, and was very slow to fill. This is the first time it has happened. Any ideas?
Rodney Osburn
Via email
Unfortunately, without more details and some eyes-on inspections and measurements, I’d simply be guessing as to why that bag was hard to fill. My first thought is a pinched or kinked air line. But with solenoids, valves, and other fittings also in the system, it’s really not possible to determine anything positively from a distance.
Since this is the first instance of it being slow to fill, perhaps there’s some telltale evidence as to the cause. Was the bag fully or partially deflated? When it deflated, perhaps it pinched the tubing somewhere. Also, it’s not uncommon for the air system to become contaminated, perhaps resulting in a blockage on the inside of the tubing. In addition, you might check the leveling valve for contamination by something such as pieces of silica gel.
In any case, this situation calls for a detailed inspection by a certified technician. I suggest that a truck chassis shop in your area take a look.