
RV Doctor
By Gary Bunzer, Technical Editor
Critters!
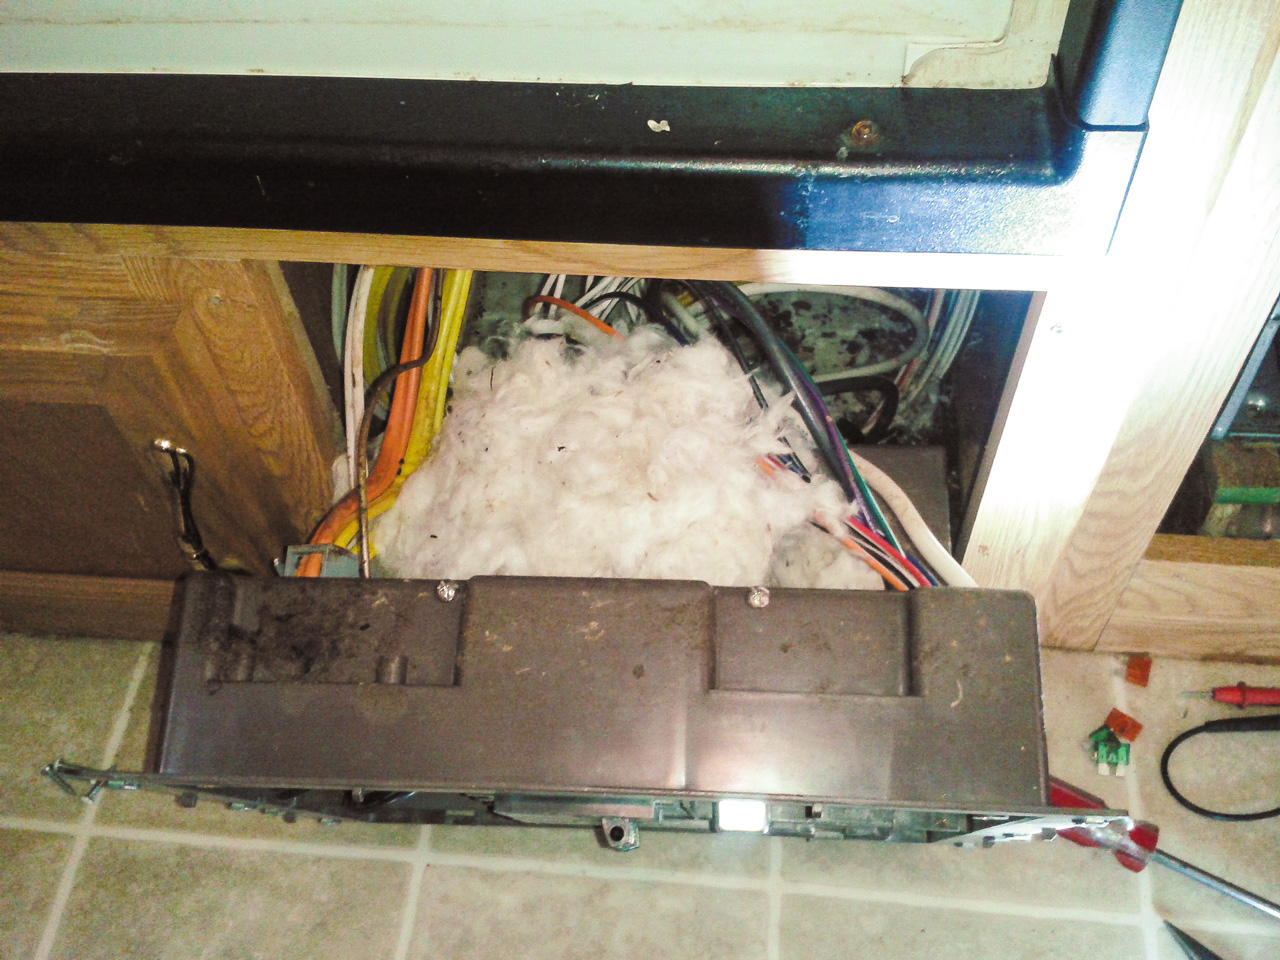
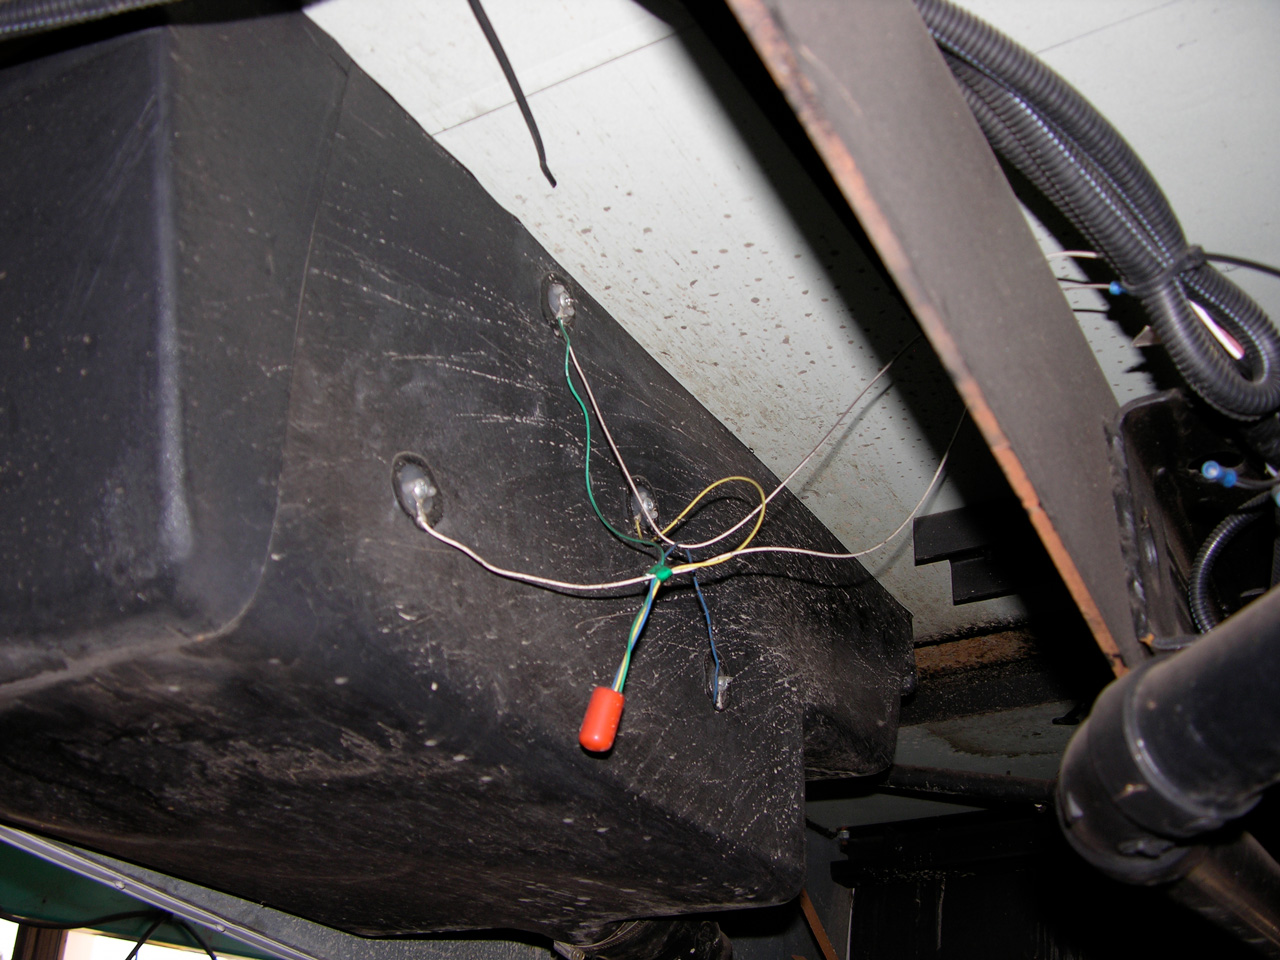
After a recent camping trip, I discovered that squirrels had been in the engine compartment of my motorhome and had eaten through some of the wiring. The dealership that repairs my RV gave me a huge estimate to repair the damage. It seems there is no absolute solution to this problem. I called the campground where this occurred to advise them and to let campers know what happened to me. Do you have a solution?
Oscar M.
Via email
Mice, squirrels, and other critters can indeed be a perplexing problem for RVers. Determining the cause of the problem is an important means of prevention. Three main things that attract and sustain such critters are food, water, and a secure route between the food source and their nesting places. Good housekeeping practices can eliminate one and possibly two of those.
Begin by removing any source of food or standing water near your RV. Be sure to clean up food or liquid spills completely inside and outside the RV. Avoid placing open containers of pet food in or around the RV. Refrain from feeding the birds around your campsite. These tips are your best defense, since, unfortunately, it’s nigh impossible to fully secure every compartment of an RV.
As for ridding the rig of existing guests, live traps can be purchased or rented. Check with a local pet store for availability. I am not in favor of commercial poisons, because of the obvious possible harm to children, pets, and RVs. I also do not favor home remedies such as carbonated soda, instant mashed potatoes, or plaster of Paris mixed with chocolate powder, to name just a few.
Though I personally have not tested an electronic pest eliminator, I have heard of good results. The device emits pulsating, ultrasonic sound waves that affect the nervous system of the animals, making it uncomfortable for them to stick around. The devices are harmless to humans and domestic pets. Some are powered by 9-volt dry-cell batteries, while others run on 120-volt-AC power. This might be your best defense when visiting that particular campground.
A final note: A member of Family RVing’s Technical Advisory Committee suggests you check with your insurance company about the possibility that the critter damage is covered under your plan. It doesn’t hurt to ask.
Leaky Tank
A black plastic holding tank usually is made of ABS.
Is a repair kit available for a black-water holding tank? We have a leak.
Teresa S.
Via email
Plastic tank patch kits are indeed available in the RV aftermarket. They can be purchased at any well-stocked RV accessory store. The problem is that they are not very effective on tanks made from polyethylene plastic. And guess which plastic is most commonly used for holding tanks!
The aftermarket patch kits do, however, work decently enough on tanks made from ABS plastic. If your tank is black plastic, it is probably ABS. If it’s gray or white, or any color besides black, chances are it’s polyethylene. But some polyethylene tanks may be black.
If the hole or crack is stress-related, the cause of the stress must be eliminated prior to patching the tank. Are you sure there is a crack or a hole in the tank itself? Be sure the leak is not from a fitting going into or out of the holding tank. If, however, there is a crack or a hole in the tank, consider the patch kit a temporary fix only. Over time, the patch is likely to fail. EternaBond tape also can be a decent temporary fix.
The only true way of repairing plastic tanks is by welding. Plastic welding is offered at some well-equipped RV service centers, but not all. It might be necessary to call around to find a shop with a qualified plastic welder. It’s worth it to have the tank welded. The alternative is to replace the tank. That could be costly, or, in some cases, impossible, if that same tank configuration cannot be located.
HepvO Fit
A HepvO valve can be installed in this reader’s plumbing setup.
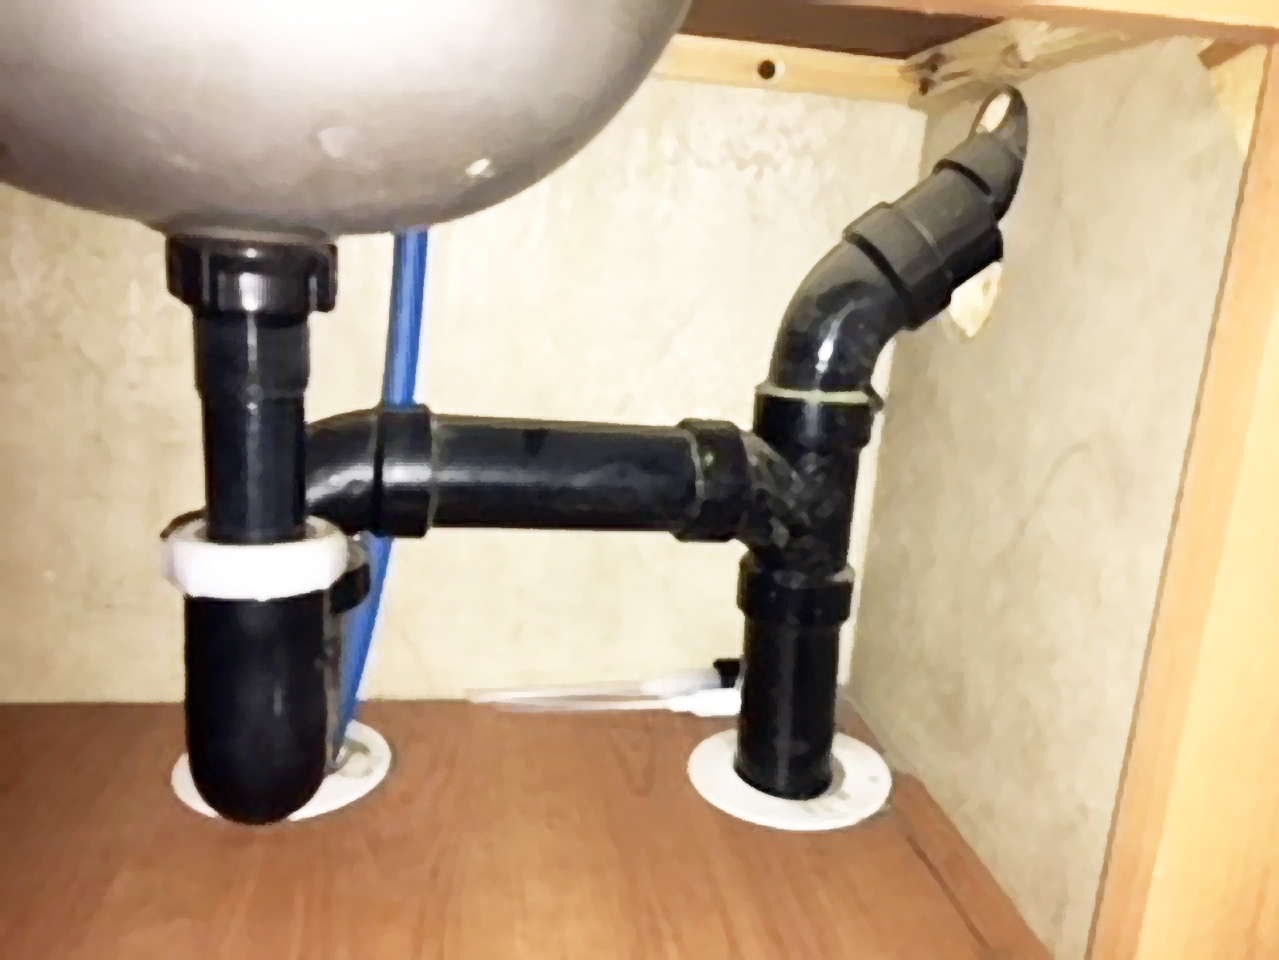
At one of your seminars, you enlightened us about the HepvO sanitary valve used in place of common P-traps. I just bought a Type C Thor motorhome, and most of the cabinet space under the sink is obstructed. (See photo on page 19.) Can I use the HepvO valve with this plumbing setup?
Linda M.
Via email
Indeed, the HepvO can be installed under that sink. If that upward, angled ABS pipe that goes into the next cabinet is connected only to an antisiphon trap vent device (air check vent), then it can be totally removed and discarded. It is not required when a HepvO valve is utilized; it’s only required when a P-trap is installed. If it ultimately goes through the roof, as a wet vent, then it must stay. Either way, the HepvO can be installed vertically or horizontally as far as five feet from the sink drain.
I would install an elbow directly at the bottom of the sink drain and connect the HepvO horizontally, angling it over to the corner before the piping disappears below. Or perhaps mount it vertically below the shelf, totally out of that area altogether. It just depends on how much room you have below that space (not shown in the illustration). But a HepvO will certainly work and will eliminate that low-hanging P-trap, providing much more storage space.
Pitted Aluminum
I am a full-timer who lives in an older Avion travel trailer, and I love it very much. The anodized aluminum exterior is getting white-crusted dots that progress to pitting in the middle, pretty deeply in some places. This is destroying the finish. I’m thinking this may be from smog or salt air. I have researched several sources for suggestions, but none has panned out. Do you have any ideas? Apparently, the anodized aluminum is not supposed to be acid-washed or polished with anything abrasive. For periodic maintenance, I was using aircraft surface treatment as recommended by the owners manual, but this is doing nothing for the crusting/pitting.
Courtney L. Caldwell
Via email
This is a tough one, especially without seeing the pitted areas in person. An article in my technical library describes cleaning and maintenance practices for aluminum-clad buildings, as compiled for an architectural reference. Basically, the same type of aluminum is used on the Avion. The article explains that using an abrasive cleaning pad can be effective. Such pads — usually called tile scrubbers — are used for cleaning tile and are generally white “non-woven” pads similar to those found on the back of a household sponge. If the pads cannot be found at a local big-box store, perhaps an industrial hardware supply store may be helpful in locating a source. Be sure the pad is white. The pads vary in abrasiveness depending on color and manufacturer.
Salt in the air and pool chemicals are very hard on aluminum surfaces, be they painted or anodized. My recommendations in this case may be contradictory to those in the owners manual, but they may be the best fix. The white dots are likely a salt or a salt/chlorine mix. To remove them, I suggest a localized cleaning using vinegar and the abrasive cleaning pad, working in the direction of the aluminum’s brushed finish. Vinegar, a food acid, should not cause any harm. Do this in small sections so as to control the process. Once completed, the area should be washed with a soap and water solution, rinsed with clear water, and then dried. Afterwards, the aviation polish recommended by Avion can be reapplied.
As for the pits, they may need to be filled by a skilled welder if they remain obnoxious to you. In the worst-case scenario, reskinning the whole RV is an option. I hope it is salvageable. I loved those Avion trailers.
Note: Not all responses will apply in every instance. Some situations may require a visual inspection and hands-on testing. If you choose to follow any procedures outlined in this column, first satisfy yourself that neither personal nor product safety will be jeopardized. If you feel uncomfortable about a procedure, stop and make an appointment with an RV service facility.