
By Gary Bunzer, Technical Editor
July 2018
CO/LP Alarm Replacement
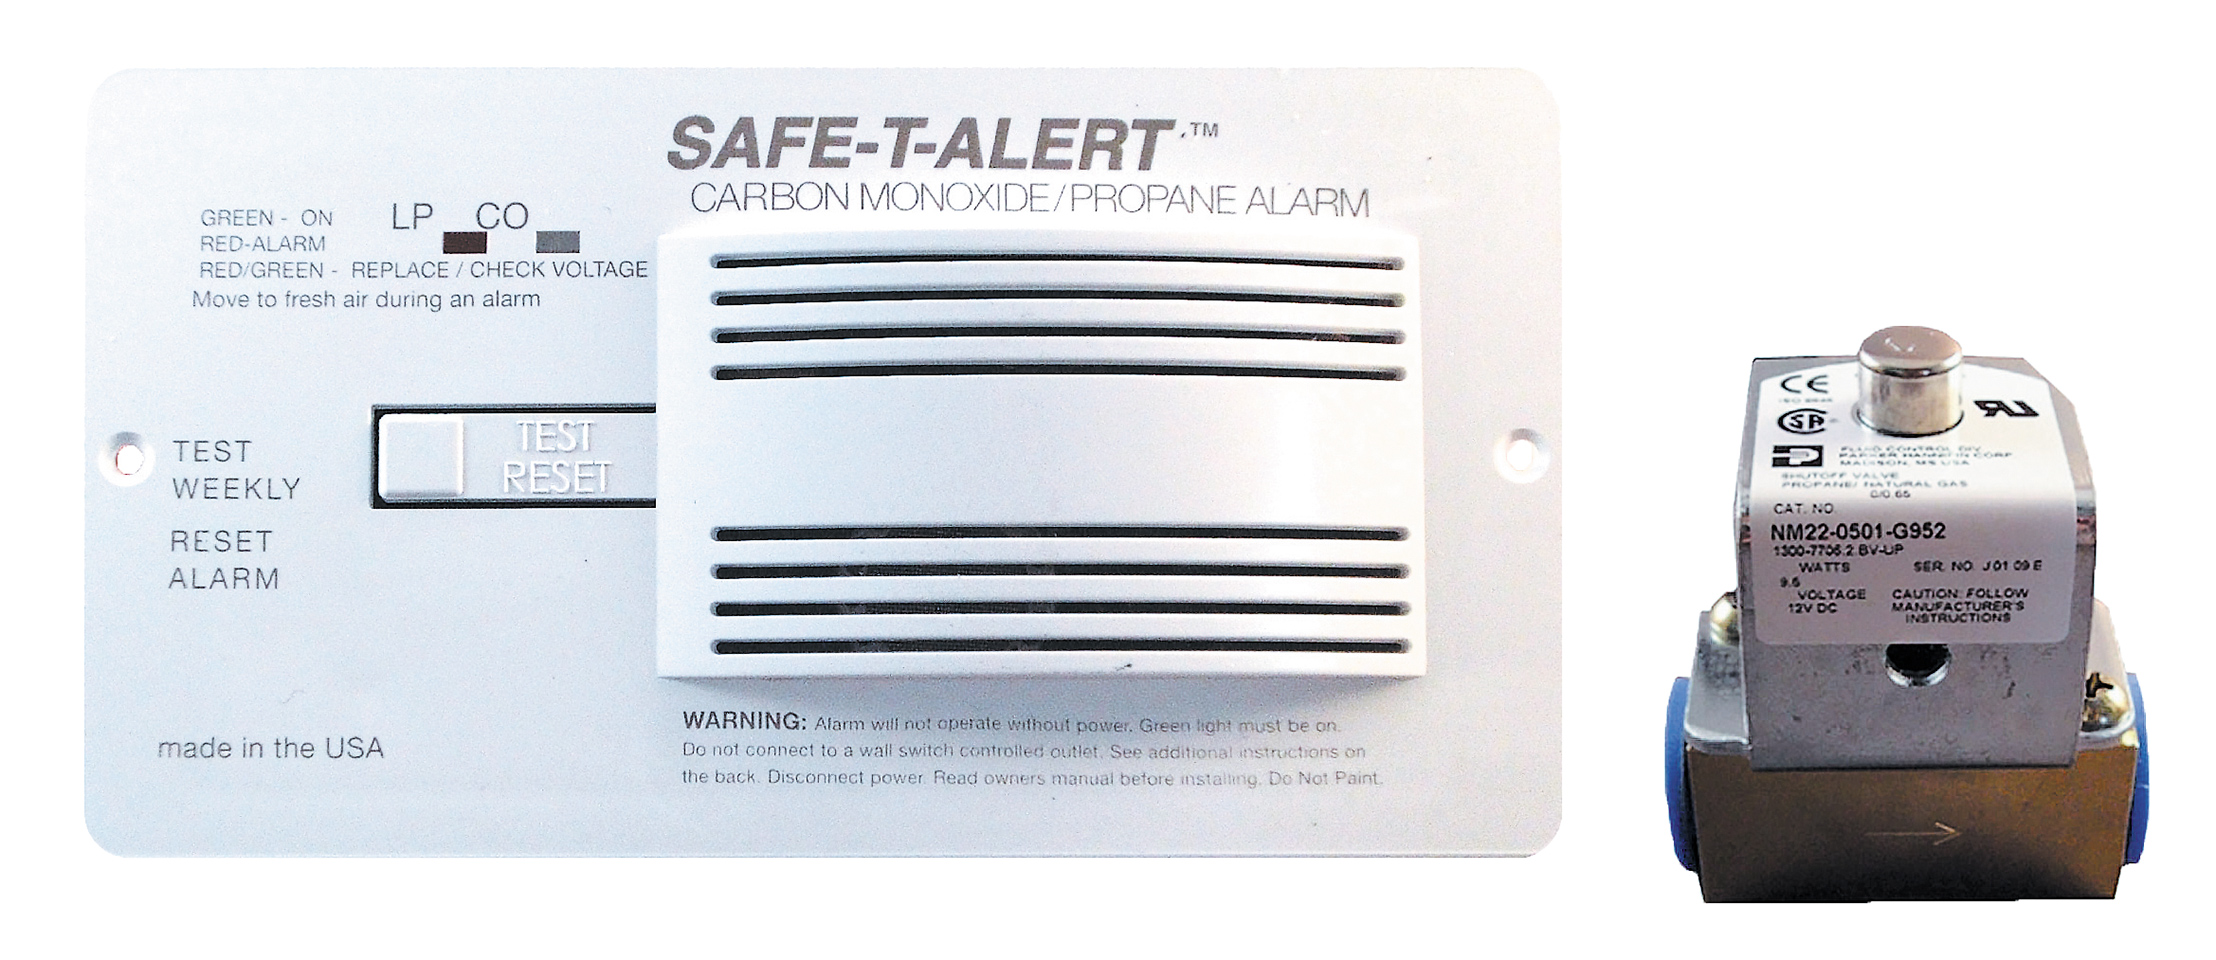
I will be replacing the combination carbon monoxide and propane alarm in my coach. It’s an MTI Industries Safe-T-Alert unit that includes a propane shutoff valve. Can I replace just the detector module, or must the propane shutoff valve also be replaced? MTI sells only the complete kit, including the combo detector unit and propane shutoff valve, but the latter would wind up in my junk box. I hesitate to tamper with the propane line every five years. It’s not a skill issue for me, but it seems unnecessary. I suspect the propane line valve is the same one that is controlled by the electrical switch near the propane fill line. What are your thoughts?
— Andrew Deboer, F441781
Muskegon, Michigan
If you’re replacing the Safe-T-Alert with the same model number, it’s not mandatory to replace the solenoid valve, but I would recommend doing so since the solenoid coil and contacts can wear or weaken over time. Replacing any other brand with the MTI unit always requires a change of the gas valve. Individual brands are not compatible with each other, but the installation instructions should state whether the existing solenoid gas valve is compatible with the new sensor unit. I think it’s a good idea to have a positive shutoff of the gas flow if a leak is detected, but many RVs do not have that solenoid, just the sensor and alarm. Most require the user to manually turn off the propane at the container in the event the sensor horn sounds.
Technical Differences
I remember a comment you made about motorhomes having the water heater, the refrigerator, and the furnace all venting in the same general area on the outside of the RV. Could you please elaborate on that? We are looking at going from a fifth-wheel to a Type C (or Type A) motorhome, and we value your opinion. Second, how do you feel about the absorption refrigerator being mounted in the slideout? A lot of manufacturers seem to do that.
— Brent Mershon
Via email
It’s best if the propane-burning appliances are not stacked on top of one another. I prefer some lateral separation. For instance, it’s common to see the furnace mounted directly below the absorption refrigerator. The problem with that design, in my opinion, is that the expelled heat from the furnace exhaust is directed into the fresh-air intake of the refrigerator; that’s the exact area from which cool, fresh air needs to be drawn into the space behind the refrigerator to create a draft and chimney effect. It makes it harder to disperse the heat from the back of the cooling unit, which makes the refrigerator less efficient. It’s not usually a deal breaker, but when comparing two similar floor plans, I’d choose the one with separation between the appliances.
The same goes for an absorption refrigerator mounted in a slideout. The chimney effect works more efficiently when the upper vent is mounted on the roof, rather than on the side of the slide room. Again, it’s not a deal breaker if I really like that floor plan, but it is still something to consider when comparing seemingly similar RVs.
Brass Plugs
In your February 2018 column (“Water Heater Drain Plug,” page 22) you recommended replacing the plug in an aluminum water heater tank with a plastic plug, never a brass one. But a large supplier of RV parts who sells brass replacement plugs tells me brass is okay with aluminum, and that it’s steel plugs that will corrode in aluminum. The brass plugs are sold by many RV stores and in RV parts catalogs. Why do they make them if there is an issue? Can you clarify this, please?
— Doyle Evans, F465639
Beaufort, North Carolina
Marketing tactics aside, I still insist it’s better not to use a brass plug on an RV water heater with an aluminum tank. Galvanic corrosion occurs when dissimilar metals are connected by pipe threads, or fasteners such as screws, nails, etc. Water, when present, acts as an electrolyte that can speed corrosion. This can also cause pipe threads essentially to become welded in place. Removing the plug becomes much more difficult and can damage the threads on the inner tank of the water heater.
Here’s what happens: When two metals are in contact with each other in the presence of an electrolyte (the water in the tank), the less active metal will act as the cathode and attract electrons from the anode. The anode is the material that corrodes and deteriorates the quickest. That’s why anodes in Suburban water heaters are made of magnesium. Magnesium, magnesium alloys, and zinc are the most anodic metals. On the other end of the scale, silver, titanium, graphite, gold, and platinum are cathodic and not very reactive.
The aluminum tank will corrode where it contacts the brass plug (at the threads), because brass is more cathodic. Surprisingly, a steel plug is actually less cathodic than a brass plug, since aluminum and steel are more compatible — that is, closer on the galvanic scale. But plastic avoids the problem altogether.
That said, the world will not end simply because you used a brass plug, but in all things academic, science prevails.
Separating Water Tanks
I need some guidance on my fresh-water storage system. My last RV had two fresh-water tanks and a slide valve that separated one tank from the other. This was helpful when dry camping, since we always started with 100 gallons (50 in each
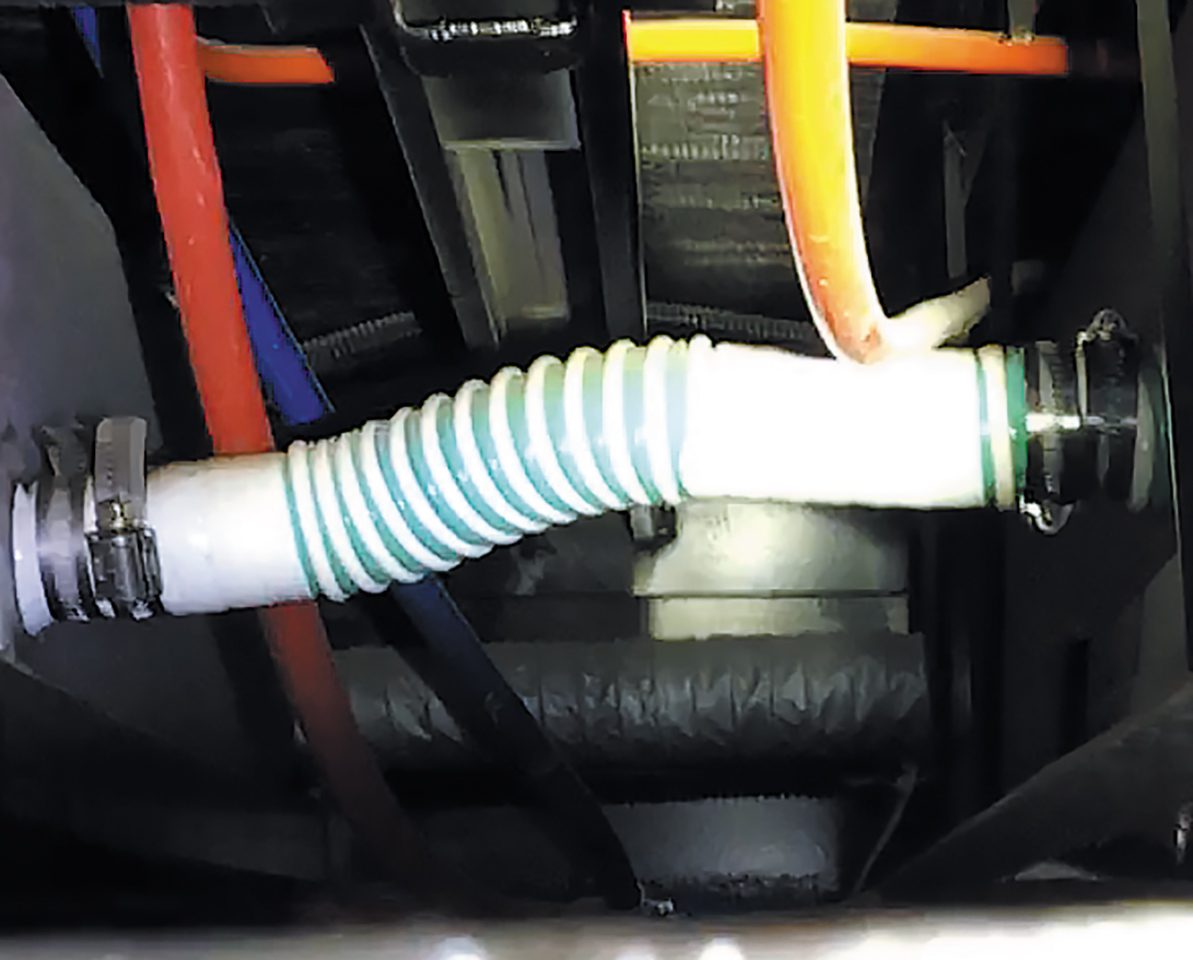
A plastic hose connects two parallel fresh-water tanks in this RV.
tank). With the valve closed, we would run the first tank empty. Then open the valve so both tanks would have 25 gallons, making it easier to know when we were halfway through our supply.
Our current setup has two 50-gallon tanks, joined by what appears to be a flexible hose (about 2 feet long), but no way to separate them. If I find a way to support a slide valve with a cable to the frame, could this be done? I was hoping I could just cut the hose right in the middle and insert a valve of some sort in between. Any ideas?
— Pete Romo
Via email
It appears from your photo that the hose between the tanks is approximately 1 1/2 inches in diameter. I suggest you install a regular gate valve directly onto one of the tank outlets, right at the tank, much like your other RV probably was equipped. Then connect the flex hose to the other tank from the outlet side of that new valve. I would not suggest hanging a valve in the middle of the flex hose. That would surely lead to problems.
Send your troubleshooting questions to rvdoctor@fmca.com. The volume of correspondence may preclude personal replies. Not all responses will apply in every instance. Some situations may require a visual inspection and hands-on testing. If you choose to follow any procedures outlined in this column, first satisfy yourself that neither personal nor product safety will be jeopardized. If you feel uncomfortable about a procedure, stop and make an appointment with an RV service facility.