
By Gary Bunzer, Technical Editor
August 2018
Supplemental DOT Cylinder
I have an older Phoenix Cruiser motorhome with a 42-pound ASME propane tank that supplies the whole motorhome. I added a barbecue grill in the back, and I wish to add a catalytic heater as well. I also installed an extend-a-stay tee in front of the pressure regulator; I want to feed the catalytic heater from this connection, but with its own dedicated regulator.
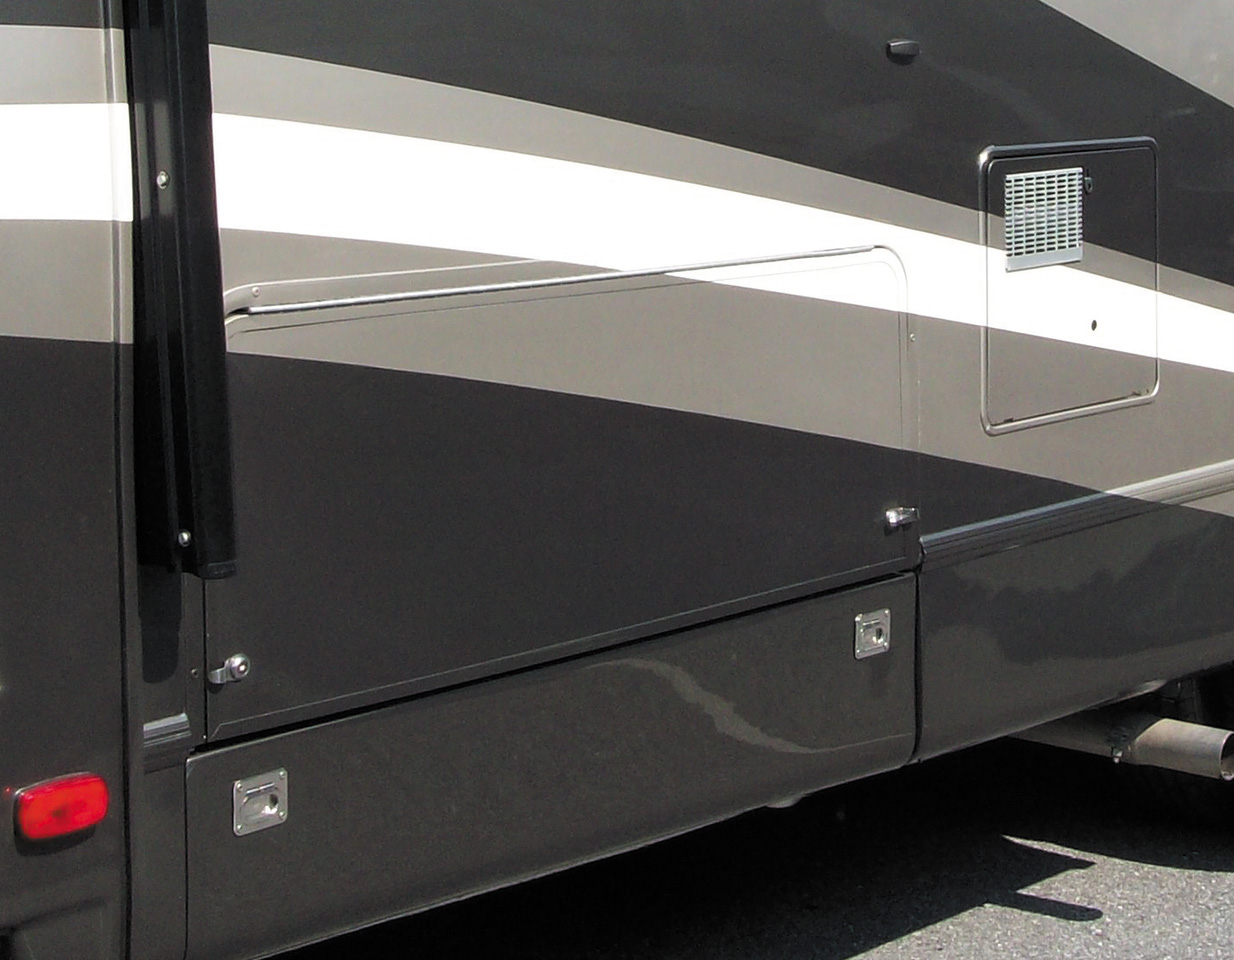
With five propane appliances and the chance that two or more will be operating at all times, I’d still like to boondock for as long as possible. I also have a storage compartment/cooler on that side of the motorhome; it’s the compartment directly below the window, just to the rear of the water heater in the photo I provided. A 20-pound horizontal DOT cylinder will fit perfectly inside the cooler. I’d like to run the barbecue grill off this cylinder. To be safe, I want to cut a grill opening into the compartment door — about 8 inches wide by 2 to 3 inches high; that way, if the safety valve opens, it will vent through the grill opening. What do you think?
Mike Locke • Via email
I hate to throw cold water on your idea; however, any compartment used to store a propane container must be totally sealed from the interior of the RV in order to meet code. Regulations also apply to the size of the venting required for a propane storage area.
That said, it might not be a problem to transport a spare horizontal DOT cylinder in that cooler, so long as the valve remains turned off completely, its service outlet plugged, the container securely strapped in place, and the compartment door properly vented. This would be no different from transporting a cylinder in a vehicle to get it refilled or to swap out at a big-box store. Just leave it unplumbed to the rest of the system, and when you want to use the grill, remove it from the cooler and place it on the ground below the grill. Hook up the regulator and hose assembly and start cooking. This way you’ll also retain the integrity of the cooler itself.
Water From Where?
Recently when I stepped out of bed on the driver’s side of the RV, the carpet and the storage area under the bed were wet. There is no water in the storage tank and all the valves have been turned off. Where could this leak be coming from? What should we do?
Mildred Allen • Via email
The two main sources of water leaks are the fresh water or waste water system, and an exterior breach that lets rain in. Let’s first focus on the plumbing.
Plumbing leaks generally occur at a connection or a fixture, such as the water pump. Tubing rarely leaks unless punctured. Dry the carpet, put some water in the fresh-water tank, and turn on the water pump. Inspect the area where you found the wet carpet, while being aware that water can seep quite a distance before it pools. If plumbing components are in the same area, inspect carefully while the system is pressurized. Leaks may be fairly easy to find when they occur within the visible plumbing, but it’s more difficult when plumbing is hidden. Be sure to open ancillary spaces — such as where the water pump is located — as this is often the source of a leak. A telltale sign is a cycling pump. Close all the faucets and drain valves and listen for the pump to cycle intermittently. If the pump occasionally cycles with no demand, a leak likely exists.
If you are certain that the plumbing systems for fresh and waste water are indeed empty, the leak probably is the result of outside water entering the RV. Continue to check the carpet regularly, especially after a rainfall. If water reappears after a rain, inspect the RV for faulty sealants. Leaks also could be the result of a poorly installed window, door, or slideout seal. Moisture intrusion of any kind, whether from the plumbing or weather, is an RVer’s worst nightmare, so be sure to have this issue addressed as soon as possible.
Slideout Issue: Will Not Extend
The Dewald hydraulic pump on my slideout won’t allow the slide to extend. A new solenoid was installed, but fluid still won’t come out of the hose when I press the “out” side of the switch. The “in” side works fine.
Fernando Ebell • Via Email
Hydraulic slide systems are complex and impossible to troubleshoot without specific information and measurements. You can try a few things, but otherwise I recommend having the system repaired by a qualified RV service facility. A solenoid certainly would be the prime suspect, but since it has been replaced already, we likely can rule it out. However, the problem could be anything from debris in the system to the electrical control circuitry.
First, ensure the hydraulic reservoir is full when the slide is fully retracted. Remove the extend/retract switch from the wall and reverse the wiring if possible. If the slideout still does not extend but continues to retract, the problem is not with the switch. However, if the situation becomes reversed — the slideout now extends but will not retract — the problem is indeed at the switch.
If the switch is not at fault, measure the voltage at the extend solenoid to make sure it is energized when the switch is depressed. If the extend solenoid is not getting power, the issue is with the controls or the wiring, which usually requires professional help. If it is energized (coupled with the new solenoid), it’s possible there is debris in the tubing, or a kink, or a failure of the retract solenoid to open, any of which would prevent the cylinder from releasing pressure on the retract side during extend. If that happens, the hydraulic pressure relief valve will open to return the pressure to the reservoir.
Inspect the hydraulic lines for damage, bends, and kinks. Debris in the line is not common, but it does happen. There is no easy way to check for debris other than to inspect the fluid. Unfortunately, cleaning it generally requires a complete teardown of the hydraulic manifold, so it’s best to assume this is not the problem until all other troubleshooting is concluded. If you are interested, the complete manual for the Power Gear/Dewald systems is online. Visit goo.gl/HwjGaC.
Slideout Issue: Electric Motor
We own a TrailManor travel trailer with an electric motor for the bottom slide. The trailer weighs about 4,200 pounds, and we use it continuously for six months at a time. The slide is opened and closed about every fourth day. I lubricate the mechanism on a regular basis. There is a handle on the slide for manual operation, but I worry that action will damage the motor over time. A factory representative informed me there is no disconnect on the motor itself. Is there any kind of life expectancy on this type of motor?
Mary F. Perry • Via Email
I always recommend that owners of units with slides test the manual operation at least once before they are forced to use it. This ensures they know the steps required in case it ever happens. It’s never a good experience when a slide fails and the owner has to scramble for information on how to close it manually. Employing preventive maintenance procedures as you are doing is the best way to avoid potential disaster, but it can still happen, so kudos to you for thinking ahead.
Unfortunately, I am not familiar with the TrailManor systems, but if a factory rep said there is no motor disconnect, it would mean one is not required. Generally, motors are not damaged by manual rotation. The main reason for a disconnect is to avoid the need to manually overcome the static torque of the motor. Since the factory provides a manual crank and no disengagement mechanism, I can only assume that TrailManor slide systems can be retracted manually without need for a shaft disengagement.
I wouldn’t worry about the life expectancy being reduced by manual cranking. Under normal use and circumstances, the motor is likely to last much longer than many of the other trailer components.
Slideout Issue: Carpet Replacement
I have a 1995 Alpenlite fifth-wheel. The 13-foot slideout has a toe-like section in front with about 12 inches of carpet under it when fully extended. How do I get the old carpet out to put new carpet in? I have tried to remove the interior fascia, but after removing about 200 screws from the 1.5-inch-by-1.5-inch angle aluminum, plus the 3-inch face screw, I still couldn’t take off the fascia. My only way to get under the slideout is to totally remove it from the trailer, unless someone knows a closely guarded secret of how to install new carpet. I have read and watched online videos until I am half blind. I’m guessing the slideout weighs between 700 and 900 pounds. Any suggestions?
Rick Web • Via Email
You may have chosen a task that is more difficult than it seems. In many cases, the slideout must be removed in order to gain access to the entire main floor of the trailer. This usually involves specialty lifting equipment. In other cases, it can be quasi-removed; basically, tipped downward to allow room to get to the carpet area. A lot depends on the type of slideout mechanism and who produced it.
Without seeing how that slide room is attached, or knowing anything about the mechanism Alpenlite used back then, I’m afraid I’d only be guessing. I’d suggest you call a local dealer that perhaps carried the Alpenlite line. I’ve heard good things about Awesome RV in Chehalis, Washington. They have parts for Alpenlite. Call their service department at (888) 455-9665. I wish I had better news for you, but manufacturers use so many different methods and mechanisms that no stock answer can be applied across the board.
Send your troubleshooting questions to rvdoctor@fmca.com. The volume of correspondence may preclude personal replies. Not all responses will apply in every instance. Some situations may require a visual inspection and hands-on testing. If you choose to follow any procedures outlined in this column, first satisfy yourself that neither personal nor product safety will be jeopardized. If you feel uncomfortable about a procedure, stop and make an appointment with an RV service facility.